farmer
links:
sketchfab.com
gumroad.com
renderhub.com
cgtrader.com
3dexport.com
turbosquid.com
cgsociety.org
deviantart.com
blenderartists.org
render.ru
pikabu.ru
So, where to start?
Some time ago I’ve decided, that I want to become a specialist in my favorite game setting - dark gothic fantasy.
Also I’ve realized, that general 3d visualization is not what I want to do professionally.
In the past, I have wasted a lot of time deciding if I want to do visual stuff or game ready, and now, at last it is game dev art for me. 100%.
С чего бы начать? В какой-то момент я понял, что хочу копать именно вглубь самого любимого сеттинга - дарк готик фентези. Так же понял, что заниматься виздевом - не моё. В прошлом я потратил очень много времени на обдумывание, хочу ли я заниматься виздевом или геймдевом, и наконец пришёл к ясности - геймдев. 100%.
So I needed something simple to start with, before I could start creating knights, wizards and all the stuff.
Also the idea was to create a model which I can both put into my portfolio and make a store asset, so it should be something neutral, right?
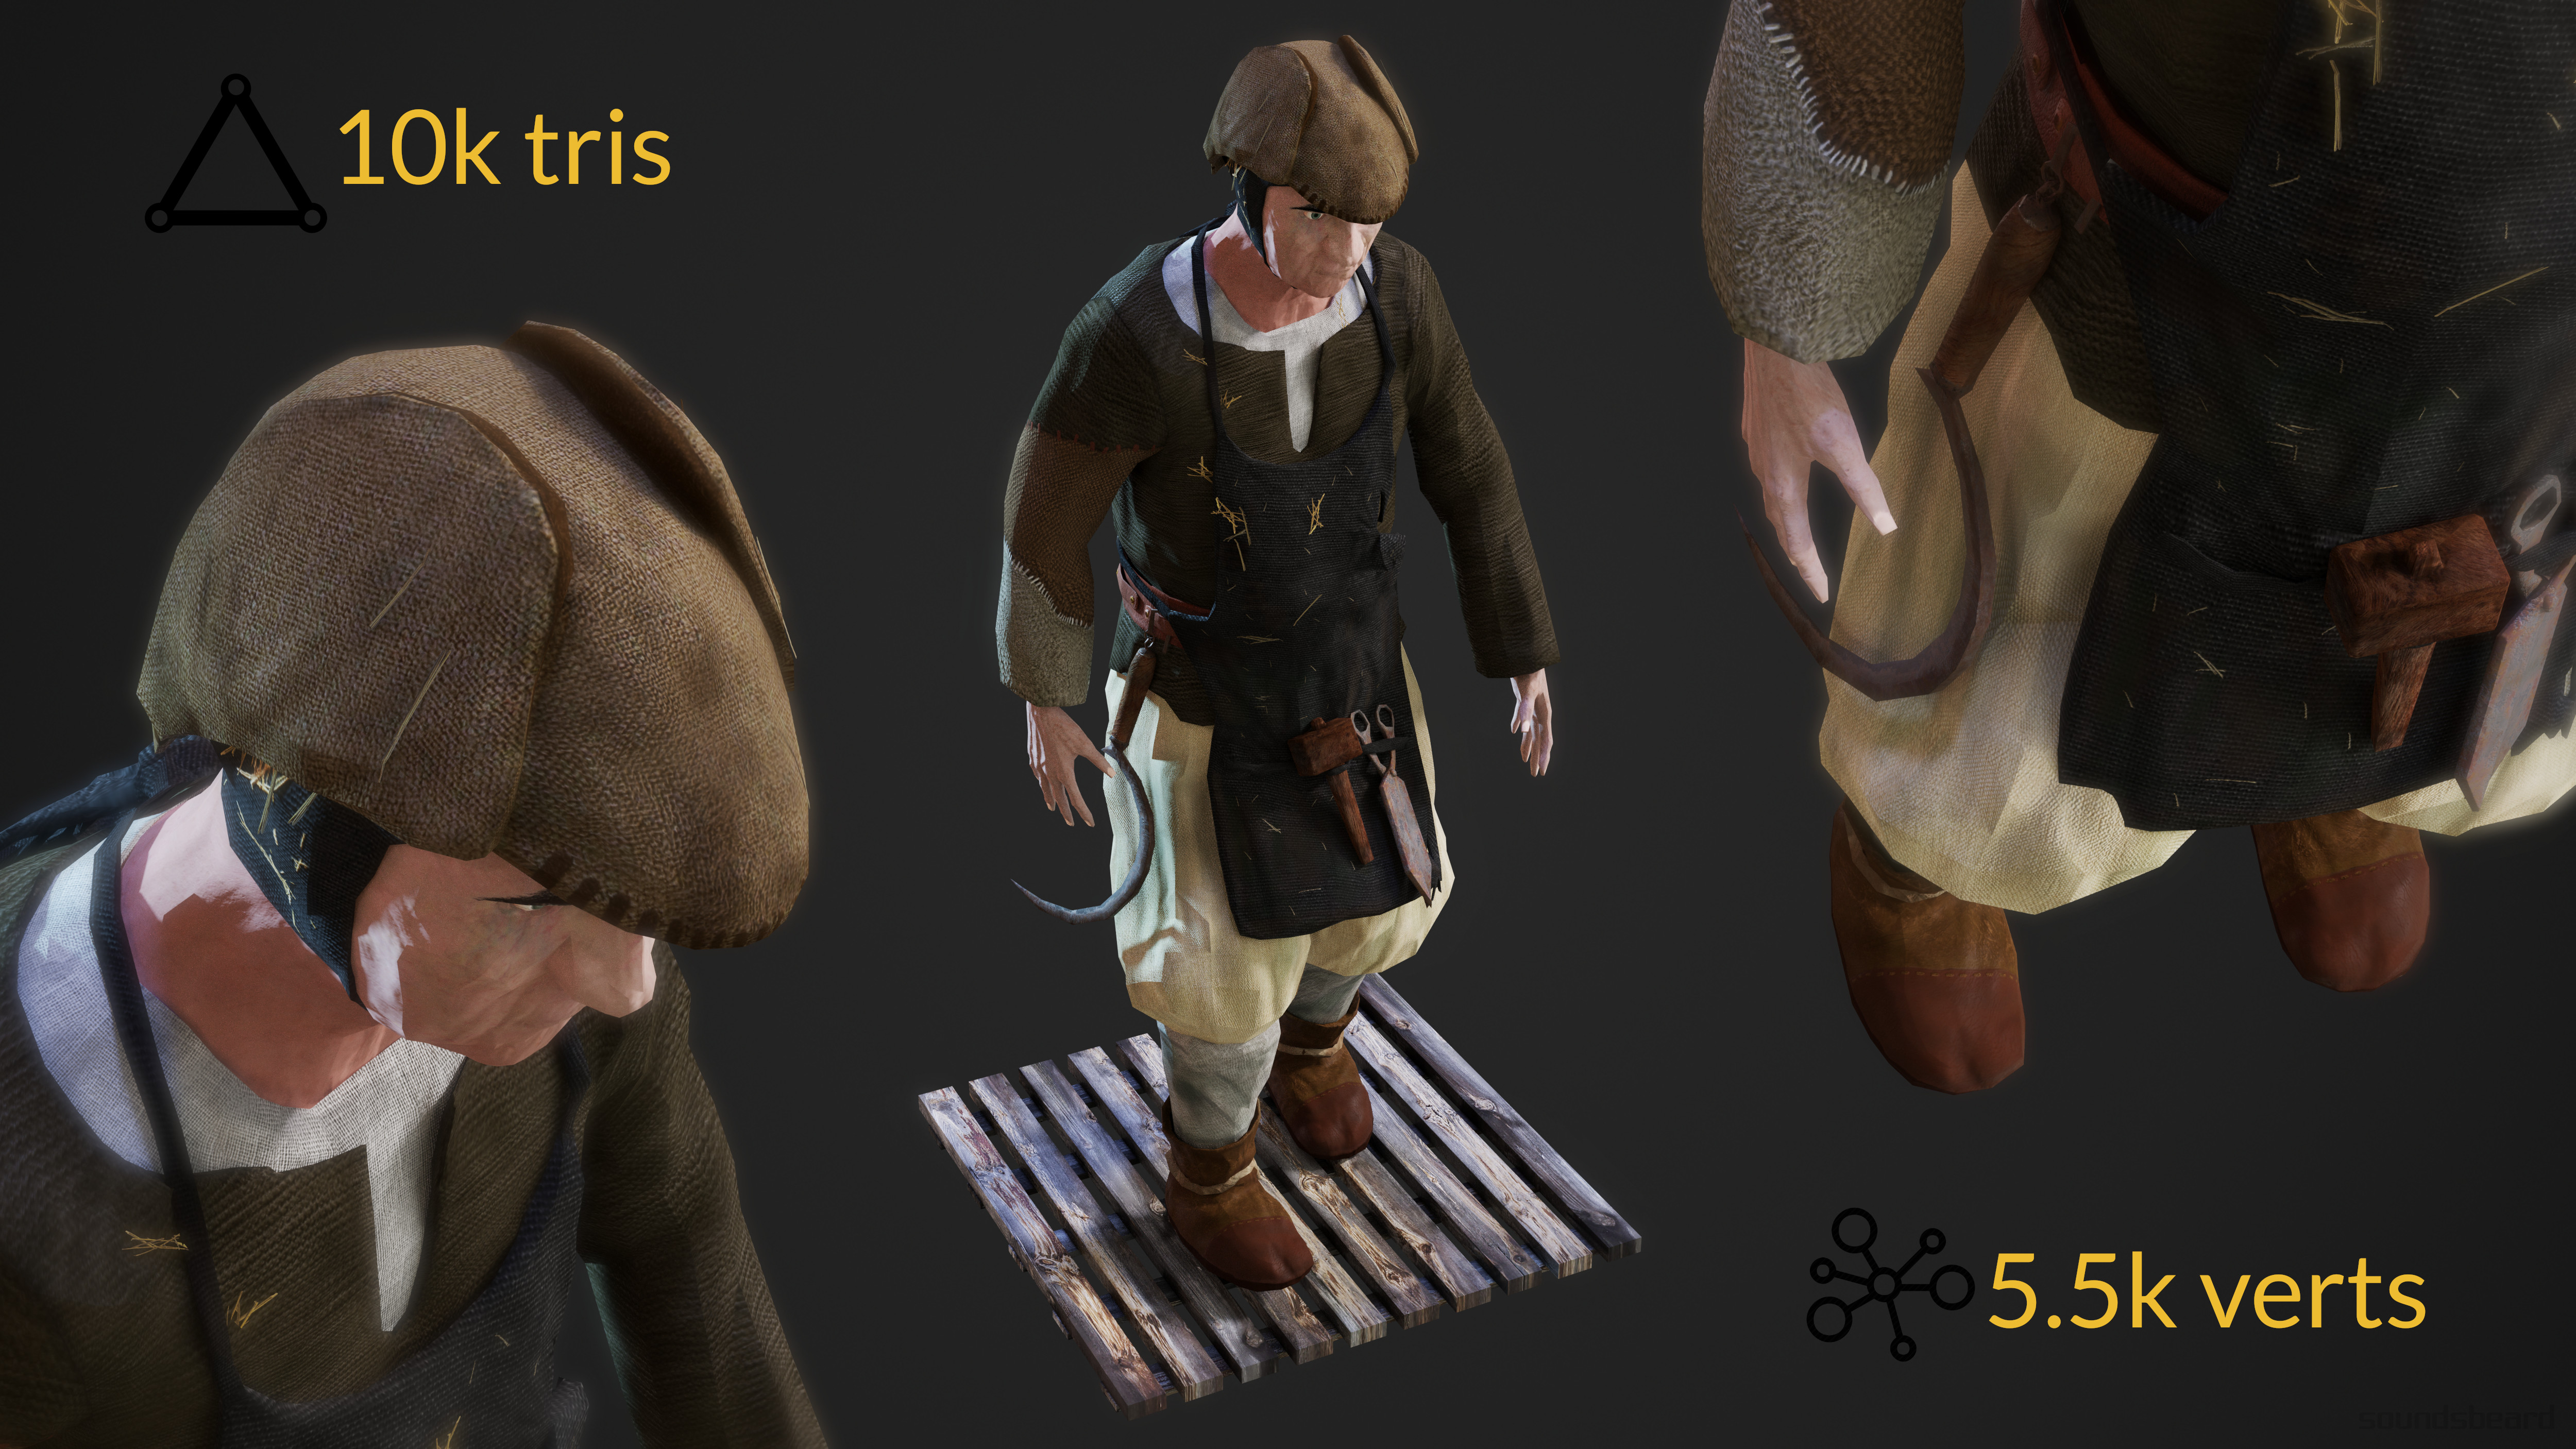
So farmer it is!
Need to mention that top-down hack and slay games are my passion, so I was focused on a character in a way where it could fit games like grim dawn, path of exile, etc.
Итак, для старта мне надо было выбрать что-то простое, чтобы разогреться перед созданием всяких рыцарей, магов и вот этого всего. Также я задался целью сделать ассет, который можно было бы одновременно и выложить как работу для портфолио, так и продавать на стоках, поэтому это должно было быть чем-то нейтральным, подходящим и под фентези, и под средневековье, правильно? Мой выбор пал на фермера. Стоить ли упоминать, что топдаун хэк’н’слей игры это мой самый любимый жанр, поэтому я сконцентрировался на ассете, который можно было бы легко воткнуть в игры типа grim dawn, path of exile и подобные им.
I’ve started with making a moodboard and a simple 2d sketch.
It’s like an ordinary start in the pipeline, but… I can’t draw.
I do simple sketches all the time, but it’s the first time I’m publishing one, so please try not to shit your pants while laughing.
Стартанул я как обычно с мудборда и простого наброска. Какзалось бы, всё, как обычно, но… рисовать я не умею. Я часто делаю такие наброски, но публикую в первый раз, поэтому постарайтесь не обделаться от смеха, при виде скетча.
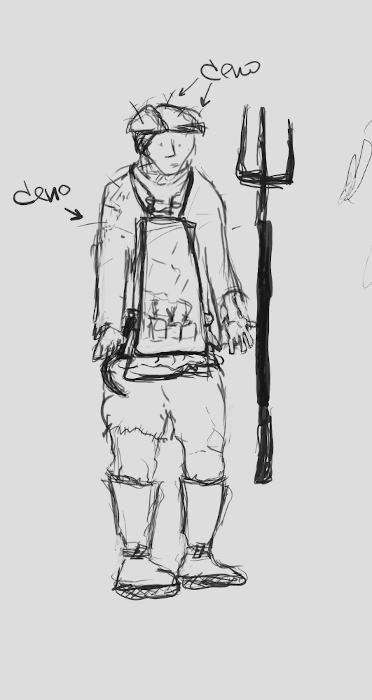
I think it is very important to make ones, even if you can’t draw, bc you need to mark down all the details you want to show on the model and only then search for apropriate refs to make them.
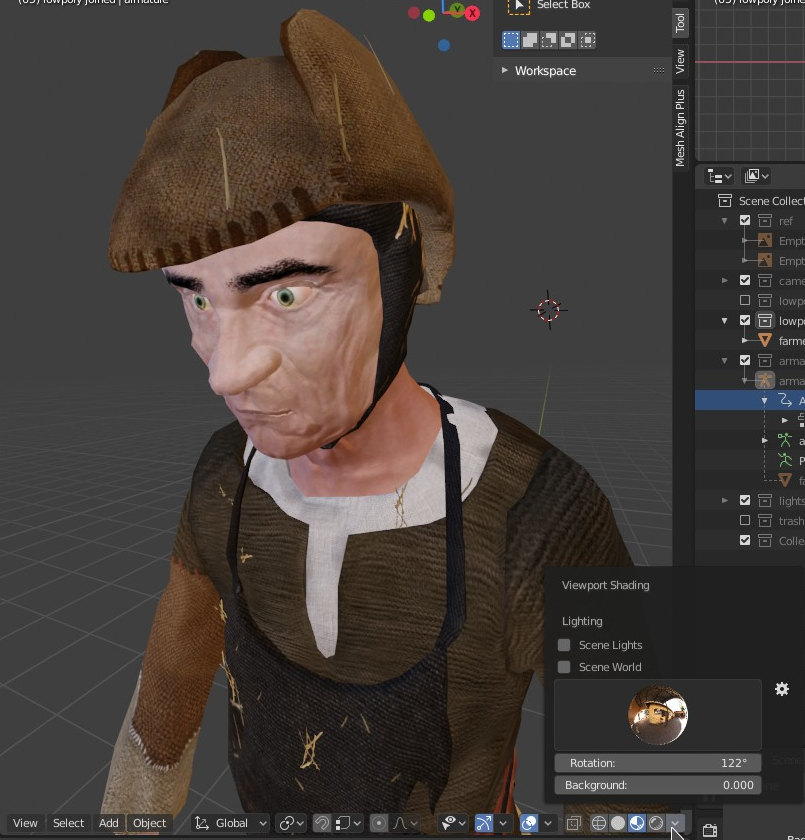
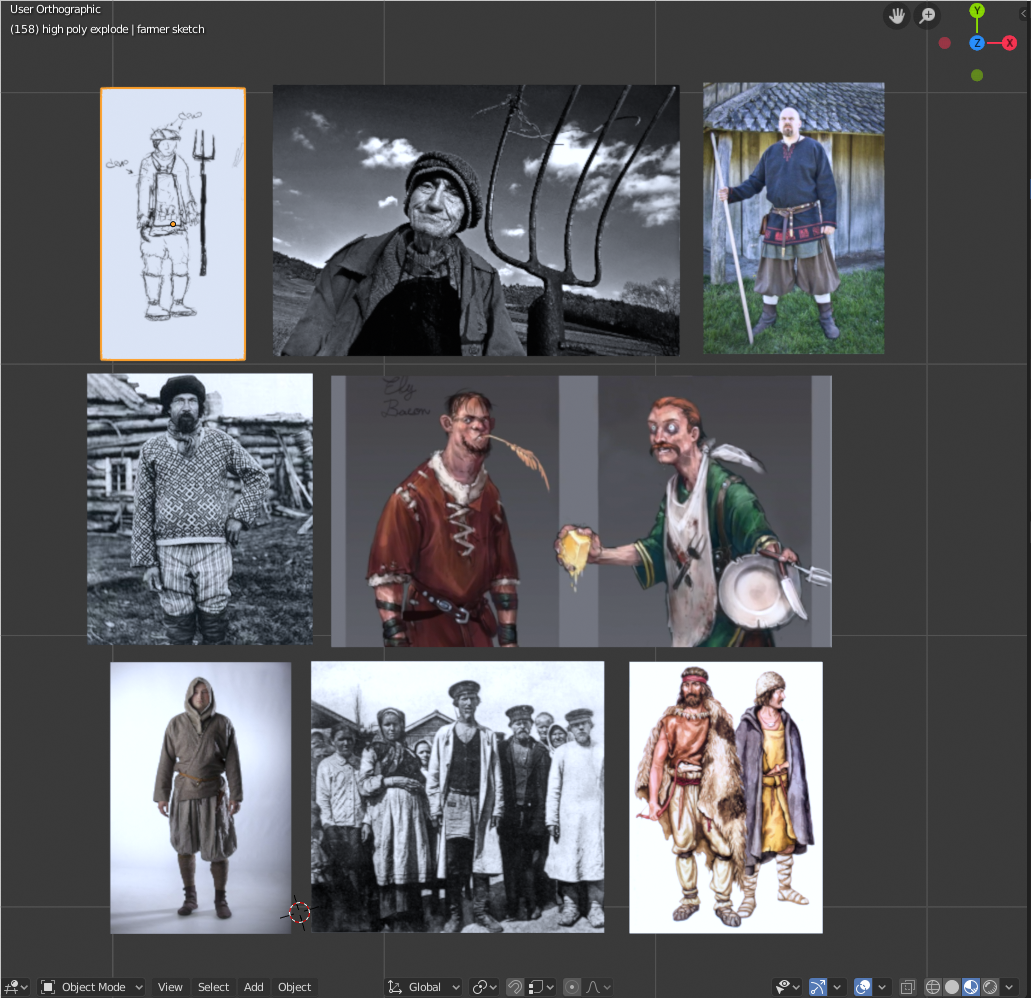
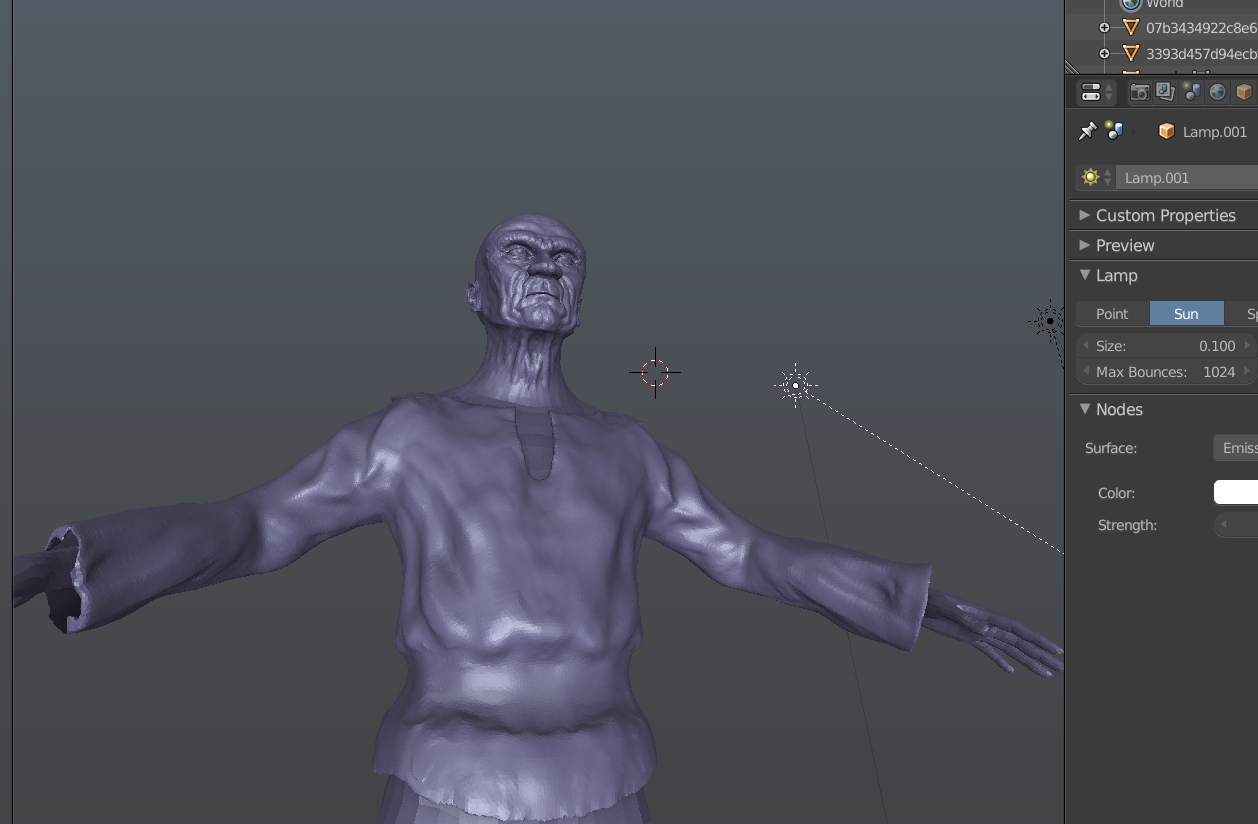
And this is my moodboard, the screenshot was made in blender 2.8, but actually I’ve started the project in blender 2.79.
Я считаю, что даже если не умеешь рисовать, такие наброски делать важно, тк необходимо быстро помечать все детали, которые приходят в голову. И уже только после того, как наметил нужные детали я перехожу уже к поискам соответствующих рефов. Итак, примерно так выглядел мудборд для фермера. Скрин из блендера 2.8, но начал я проект раньше, ещё в 2.79.
Then you need to make sure, that your scene is set up properly:
- make sure scene units are similar to the real world ones, so you can avoid scaling problems in the future
- the charatcer should stand in the zero coordinate
- also I think you should set up fps (24 by default in blender), but it will influence animations, so if you are going to put character in other blender scenes, all you animations has to be same fps, but this is a thing to study for me
Далее надо удостовериться, что сцена нормально подготовлена:
- юниты в сцене должны быть отмасштабированы к реальному миру, чтобы потом не возникало проблем с маштабом в будущем.
- персонаж должен быть выставлен в нулевую точку координат.
- также, я думаю следует выставлять какой-то определённый фпс в сцене, например 24фпс, он будет влиять на анимации, и если захочется скопировать перса в другую сцену, там так же должны быть выставлен тот же фпс, но тут мне следовало бы разобраться лучше. Ниже я привожу приблизительное время, затраченное на ра разные этпаы:
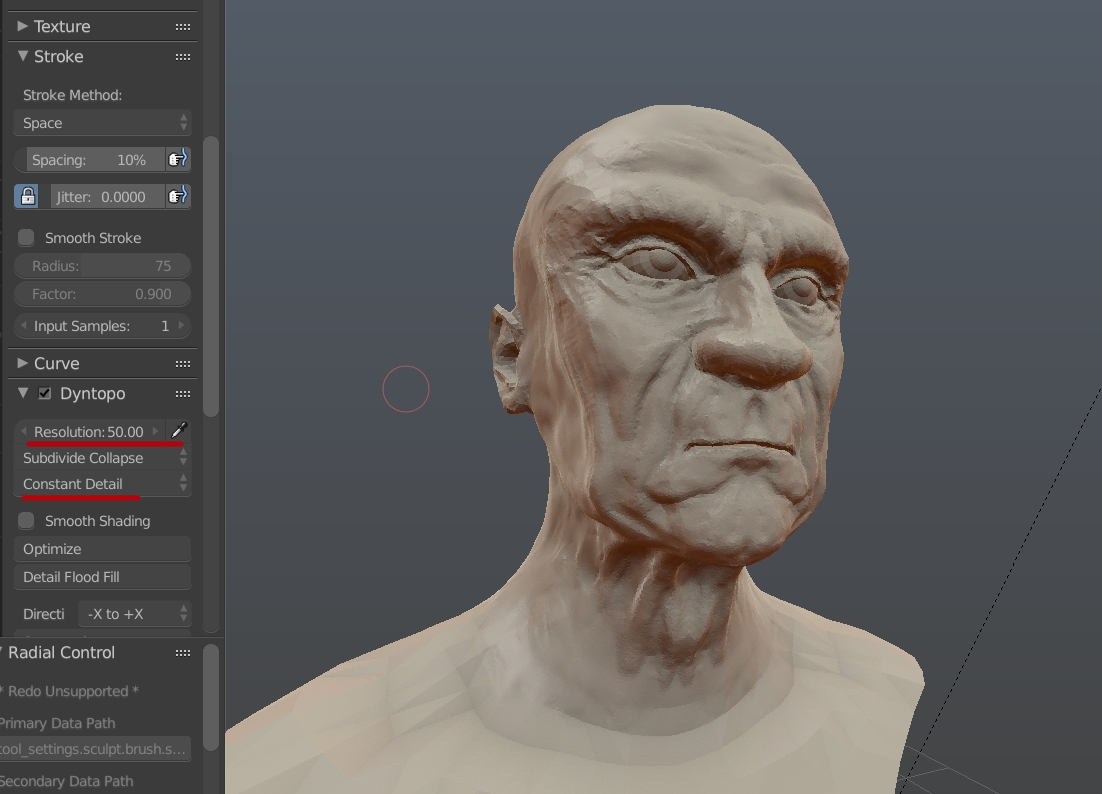
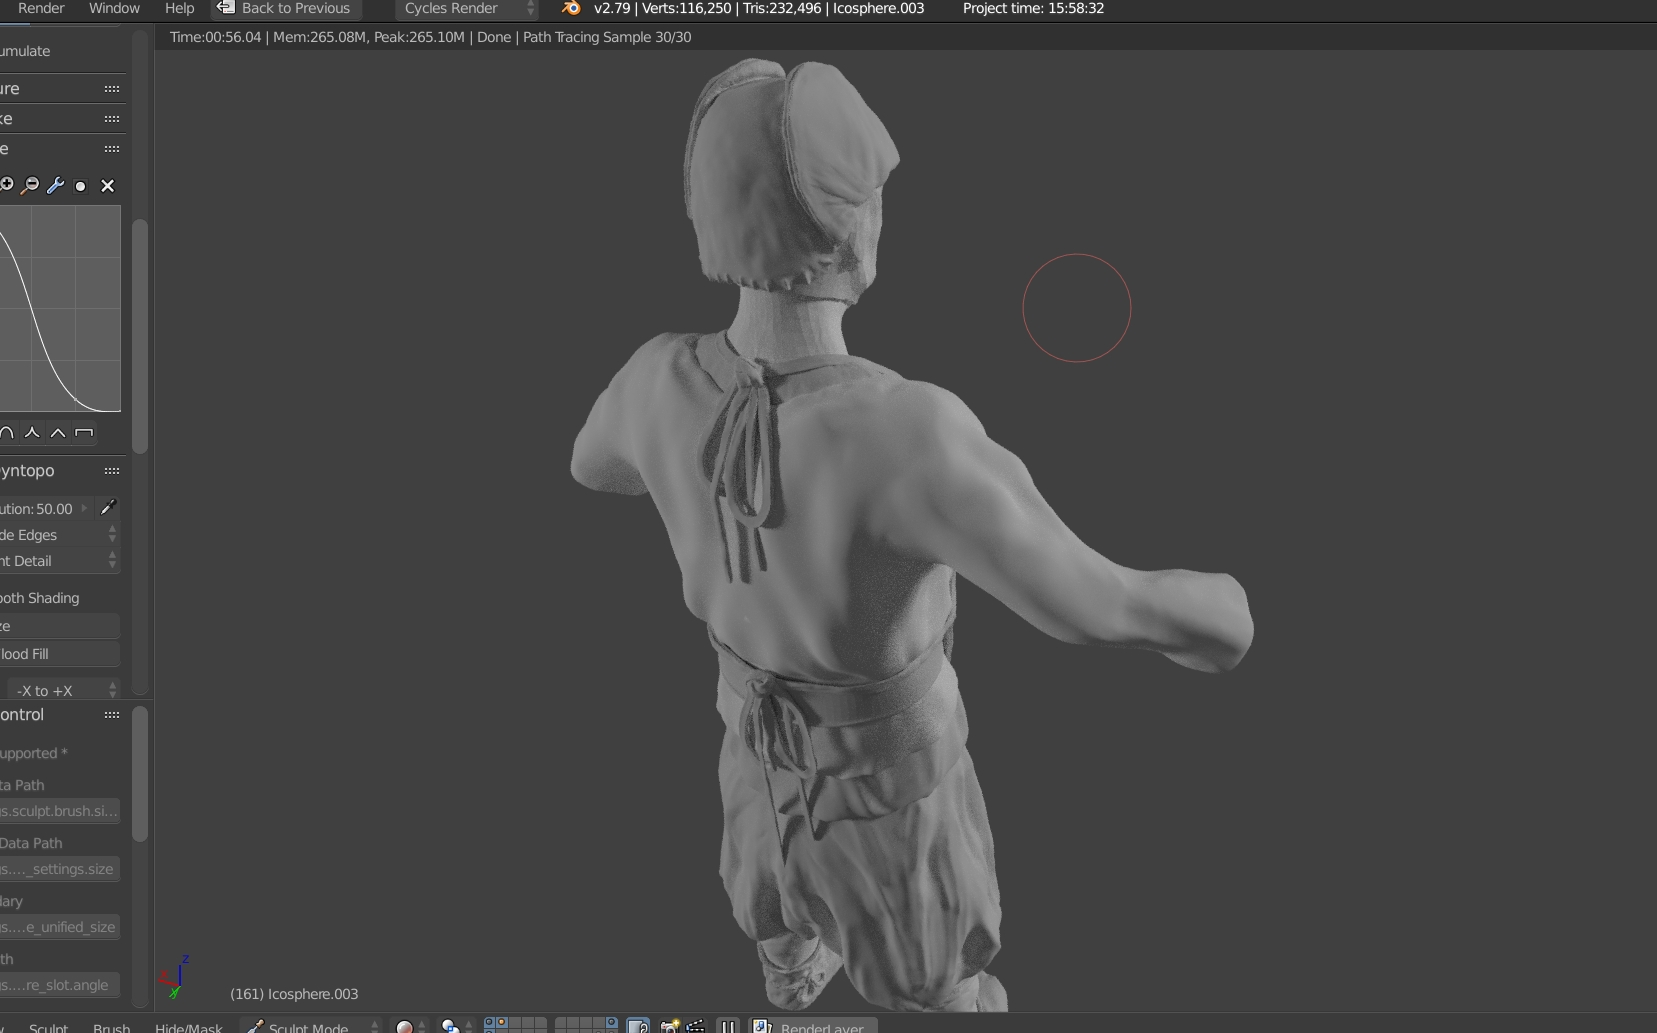
also I needed to figure out how much time I’m spending on each part of the pipeline, so these are for sculpt:
(resolution is constant details in blender sculpt)
1,5h head, resolution 50, symmetry
1,2h coat, 20, symm
2h shirt (the thing under the coat), 20, symm
30m pants, 20, symm
45m pants, 50, symm
3h legs (bandages + shoes + wires on shoes), 20, symm
5h apron, 50, asymmetry
1h45m hat, 50, symm
1h20m sickle and belt, 50
1h10m palms, 50, symm
1h10m hammer, scissors, coif, 50
Before the retopo, I need to add some asymmetry to the sculpt:
Перед ретопо нужно добавить ассиметрии в скульпт:
35m pants, 100, asymm
30m shirt, 100, asymm
30m coat, 100, asymm
2h - minor details
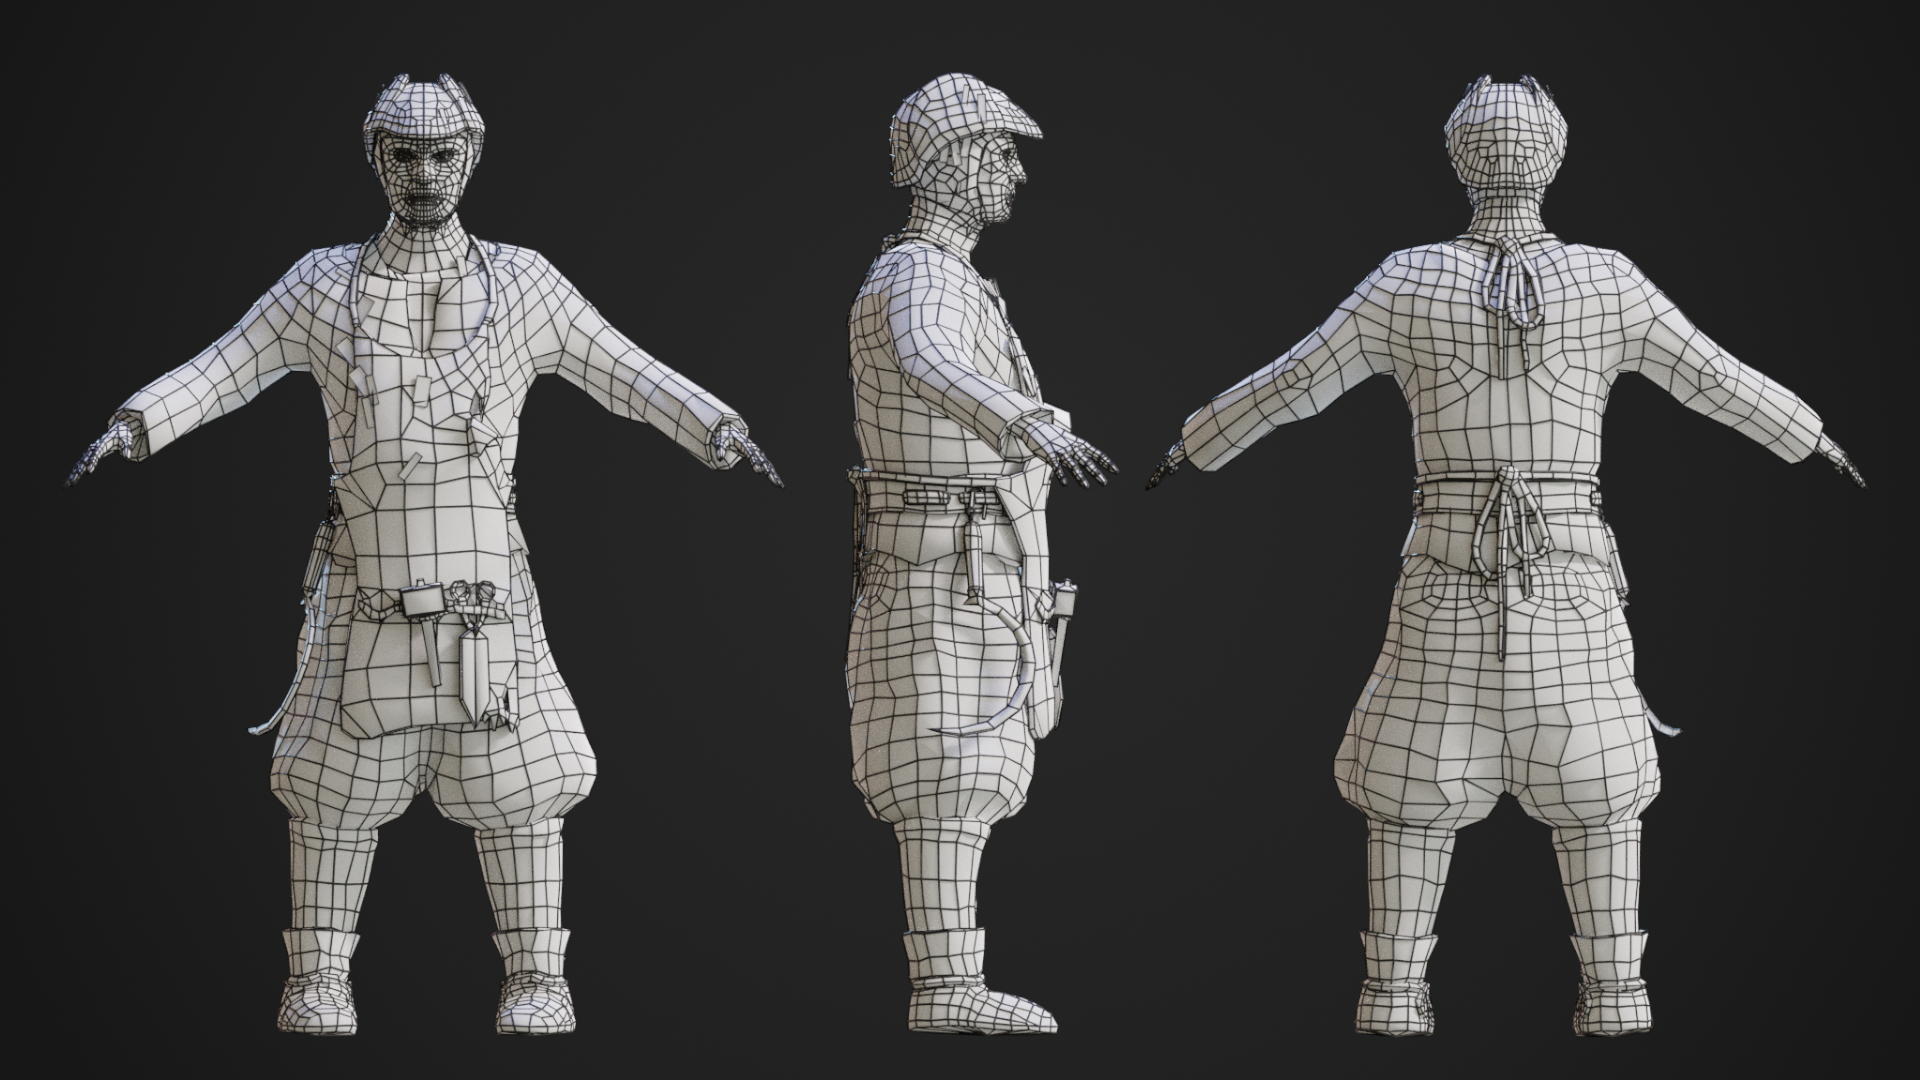
You need to make sure, that all parts of the sculpt have ‘smooth shading’, bc when you switch FROM sculpt mode to object mode, blender switches object to ‘flat shading’. At some point I forgot to check the time I’ve spent on retopology process. Approximately I’ve spent 20h on the whole retopo, and that was really hard, bc I’ve wasted so much time deciding what should be the final poly budget for LOD-0.
Нужно не забыть проверить, что на всех частях скульпта накинут смуф шейдинг перед запеканием. К сожалению, я забыл засечь, сколько времени я потратил на ретопо. Приблизительно, я потратил около 20 часов на всё ретопо, и было тяжко, тк я не понимал, какого полибюджета придерживтаься для лод-0.
I could not decide if I’m going to make LODs at all, and the final poly count shoulds be, and how dense the topology should be on which part of the character for the proper game-ready model. Also I decided to make retopo of the face and the coif merged (why, for the fuck sake?), so later I got problems with texturing.
Я не мог решить, нужно ли мне вообще делать лоды, какой должен быть финальных полибюджет, и какая нужна плотность сетки на отдельных участках модели для грамотного геймреди ассета. Также я сделал меш головы и чепца одним целым (это было ошибкой), и из-за этого я позже столкнулся с проблемами с текстурированием.
6,5h on rigging. 2h on unwrapping.
Before you start texturing, you need to bake high resolution sculpt onto the retopo, bc you will need to see all the details while texturing. I’ve separated all sculpts in two parts: huge and small ones. This is bc you’ll need different ray distance for different parts. Baking huge parts was made with ray distance 0.3 and small ones with 1.7.
6,5ч на риг. 2ч на развёртку.
Перед текстурированием, нужно запечь детали со скульпта на ретопо, тк во время текстурирования нужно будет видеть все эти детали на нормал мапе. Я разделил весь скульпт на 2 группы: мелкие куски и крупные. это нужно потому, что для разной детализации нужен разный ray distacne во время запекания. Боьшие куски я запекал с дистансом 0.3, для маленькиих вытавил 1.7.
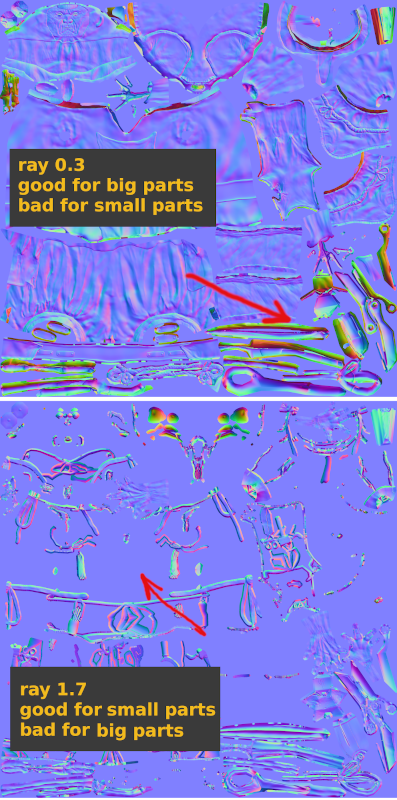
Also do not forget to set up margin for uv islands, I set 23px for 5k texture resolution. Then you need to combine two normal maps, and here is a small hint - pick small details texture for the base, bc huge part are easier to select in 2d software (gimp in my case).
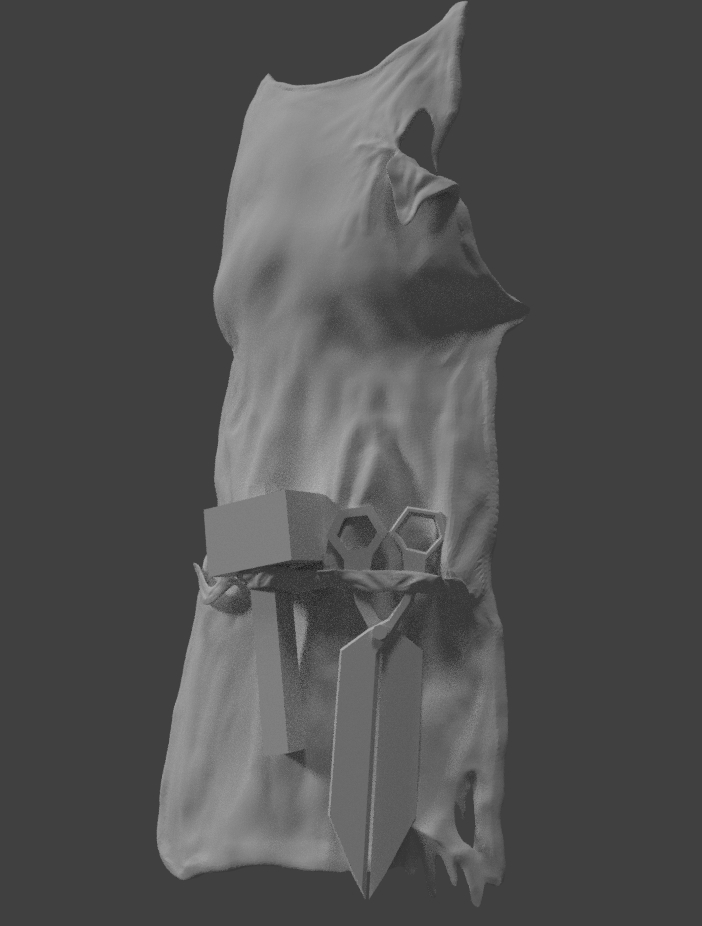
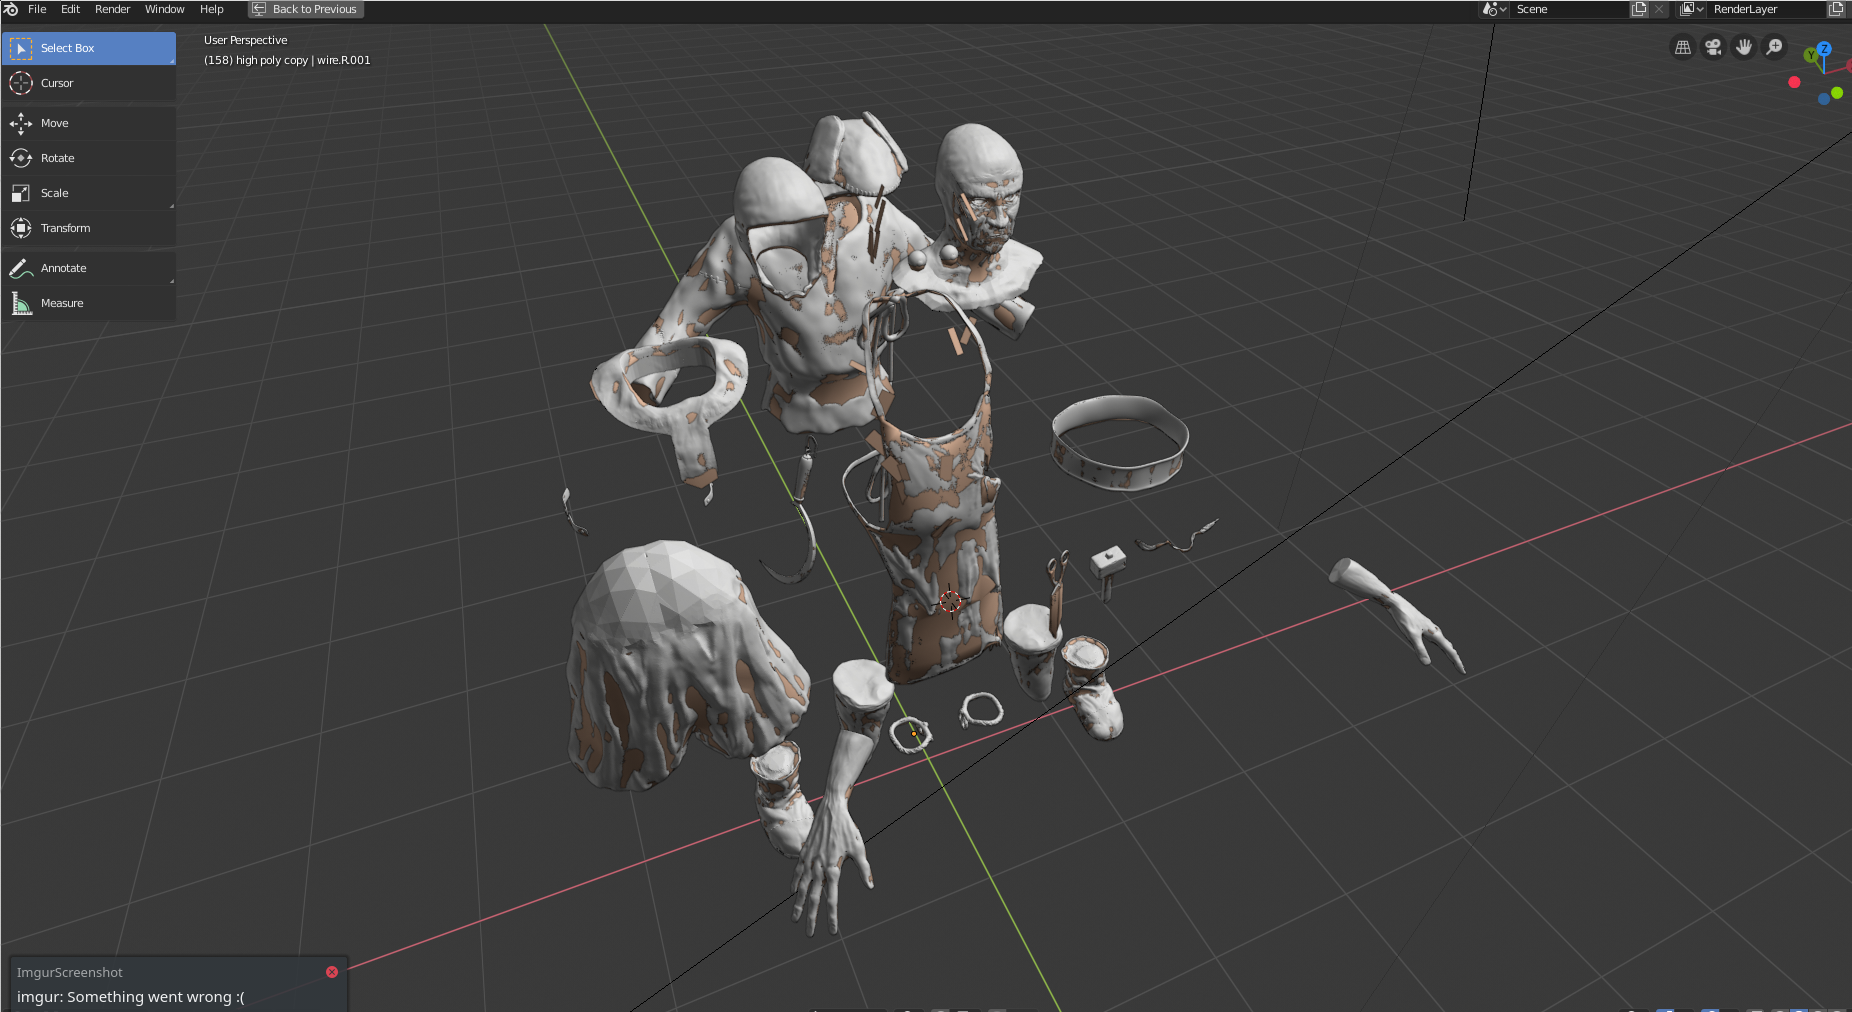
Here is the ’explosion’ before baking:
Также не стоит забывать выставить маржин для юви островов, я поставил 23 пикселя для разрешения текстур в 5к. Далее надо слить 2 нормалки, и я обычно беру за основу нормалку с мелкими деталями, тк на слое выше должны быть крупные детали, которые проще выделять, чтобы потом инвертировать выделение и удалить недачные куски мелкой детализации.
Так выглядит сцена после “взрыва” перед запеканием:
I’m very bad in animation, so I didn’t check the timer, while animating.
Also I did a small test. With the resolution 100 I’ve got 600k polygons on each shoe, so I reduced poly count on one shoe with blender ‘decimate’ modifier to 240k and there was no difference at all.
В анимациях я не силён, и потому не засекал потраченное время.
Также провёл небольшой тест: с разрешением динтопо 100, я получил 600к трисов на каждый ботинок, после этого модифаером децимейт я снизил поликаунт до 240к и визуально разницы не почувствовал.
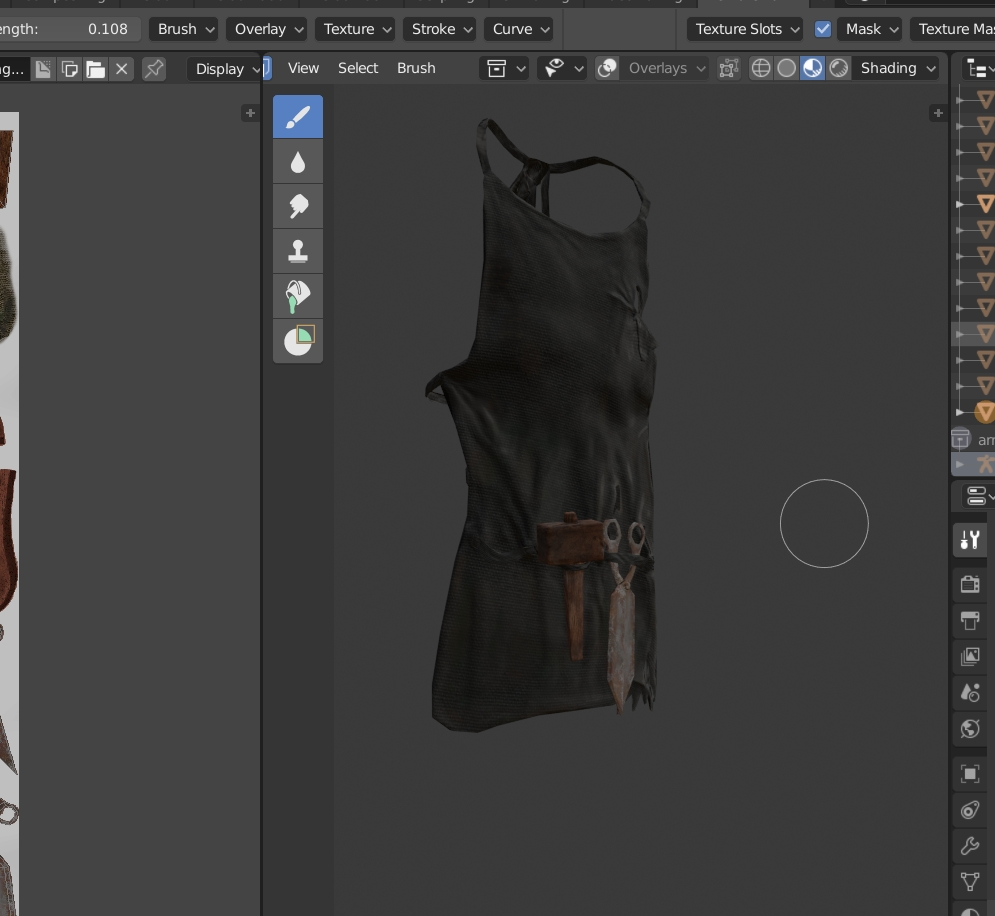
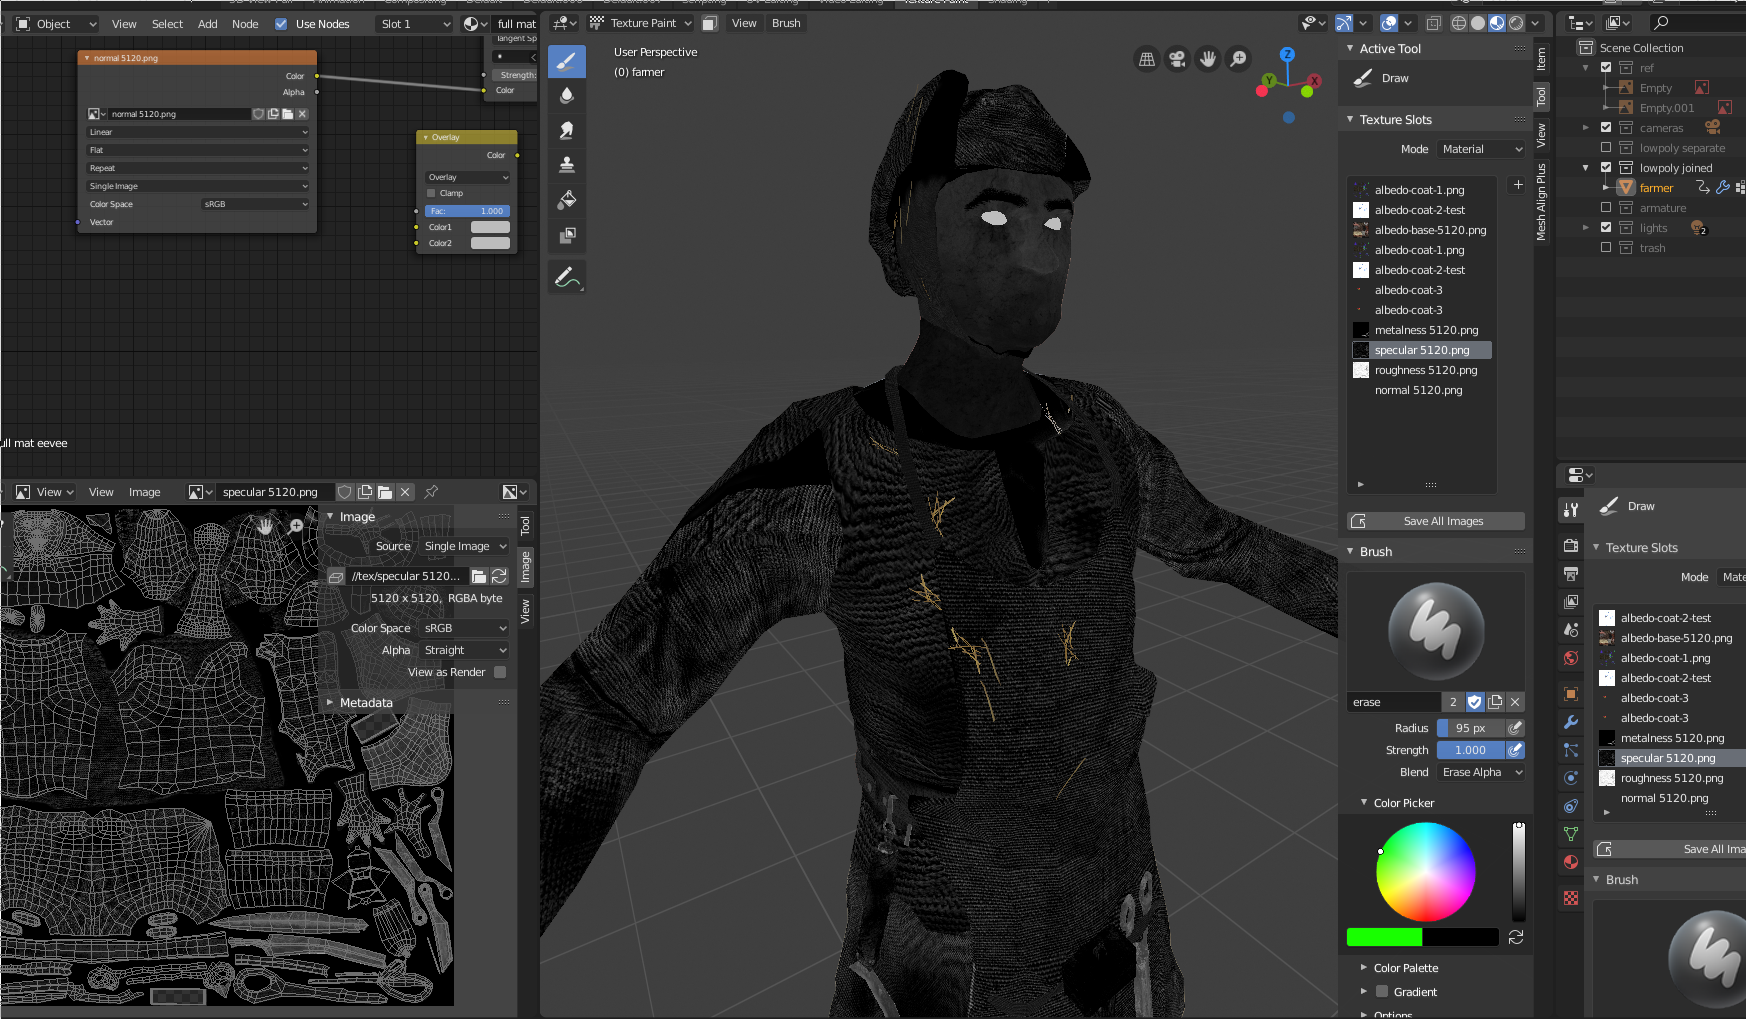
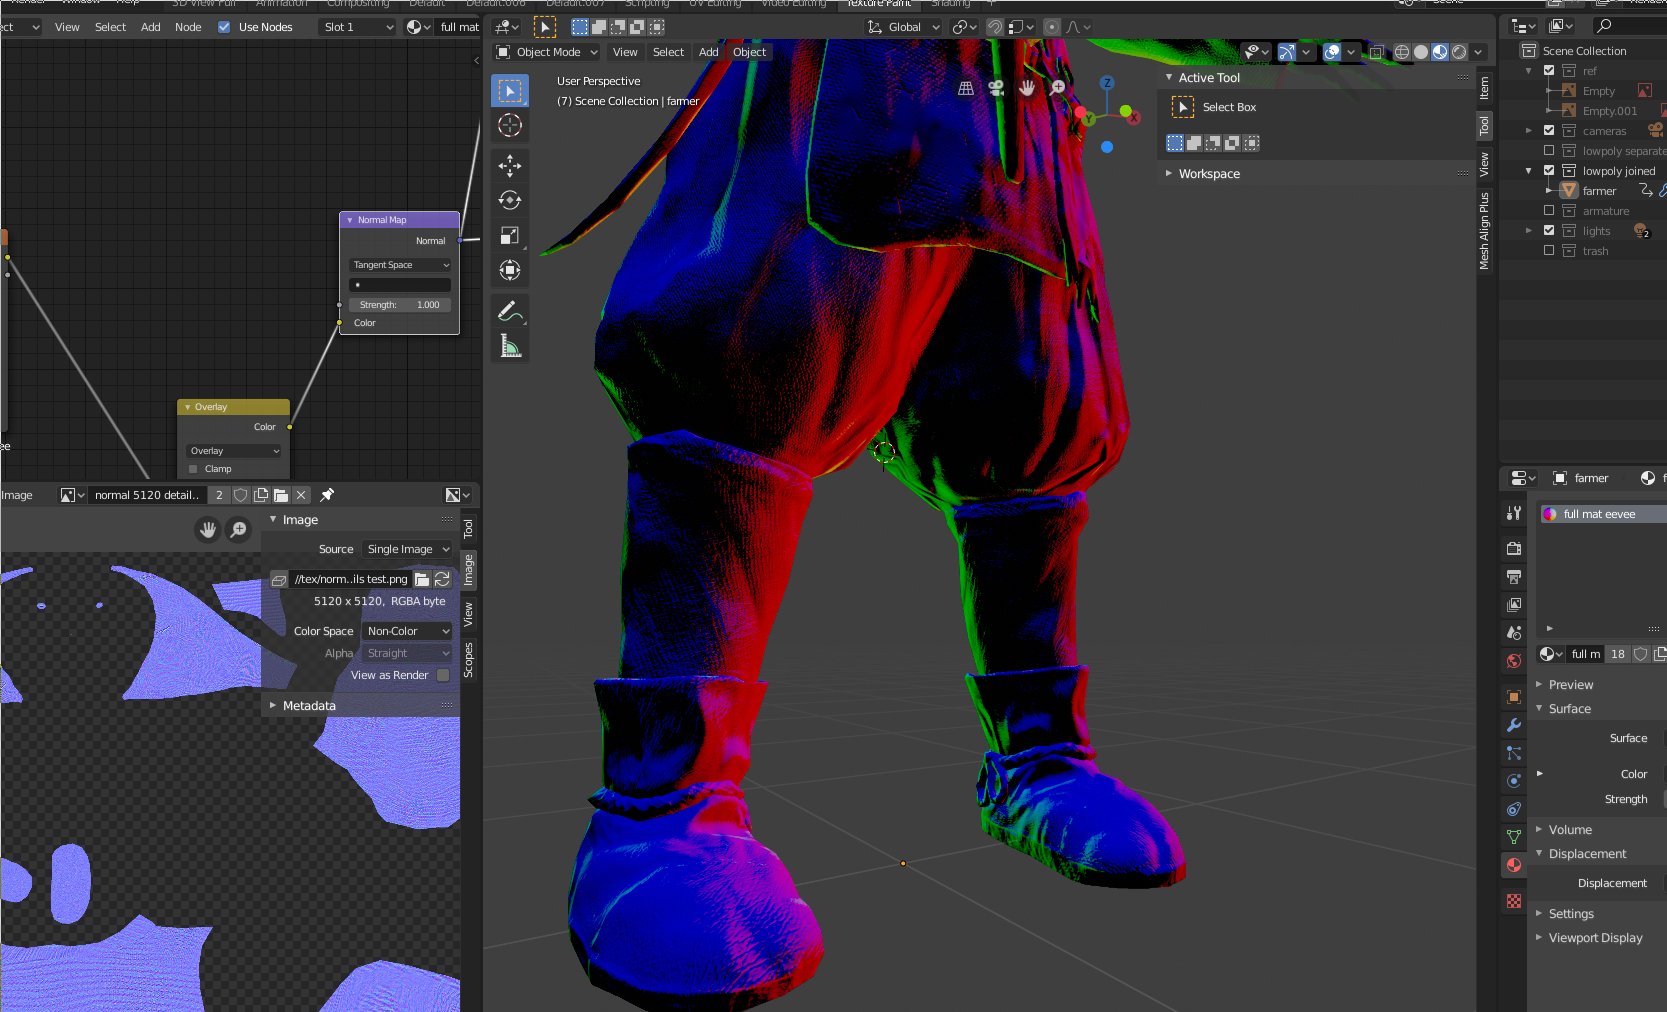
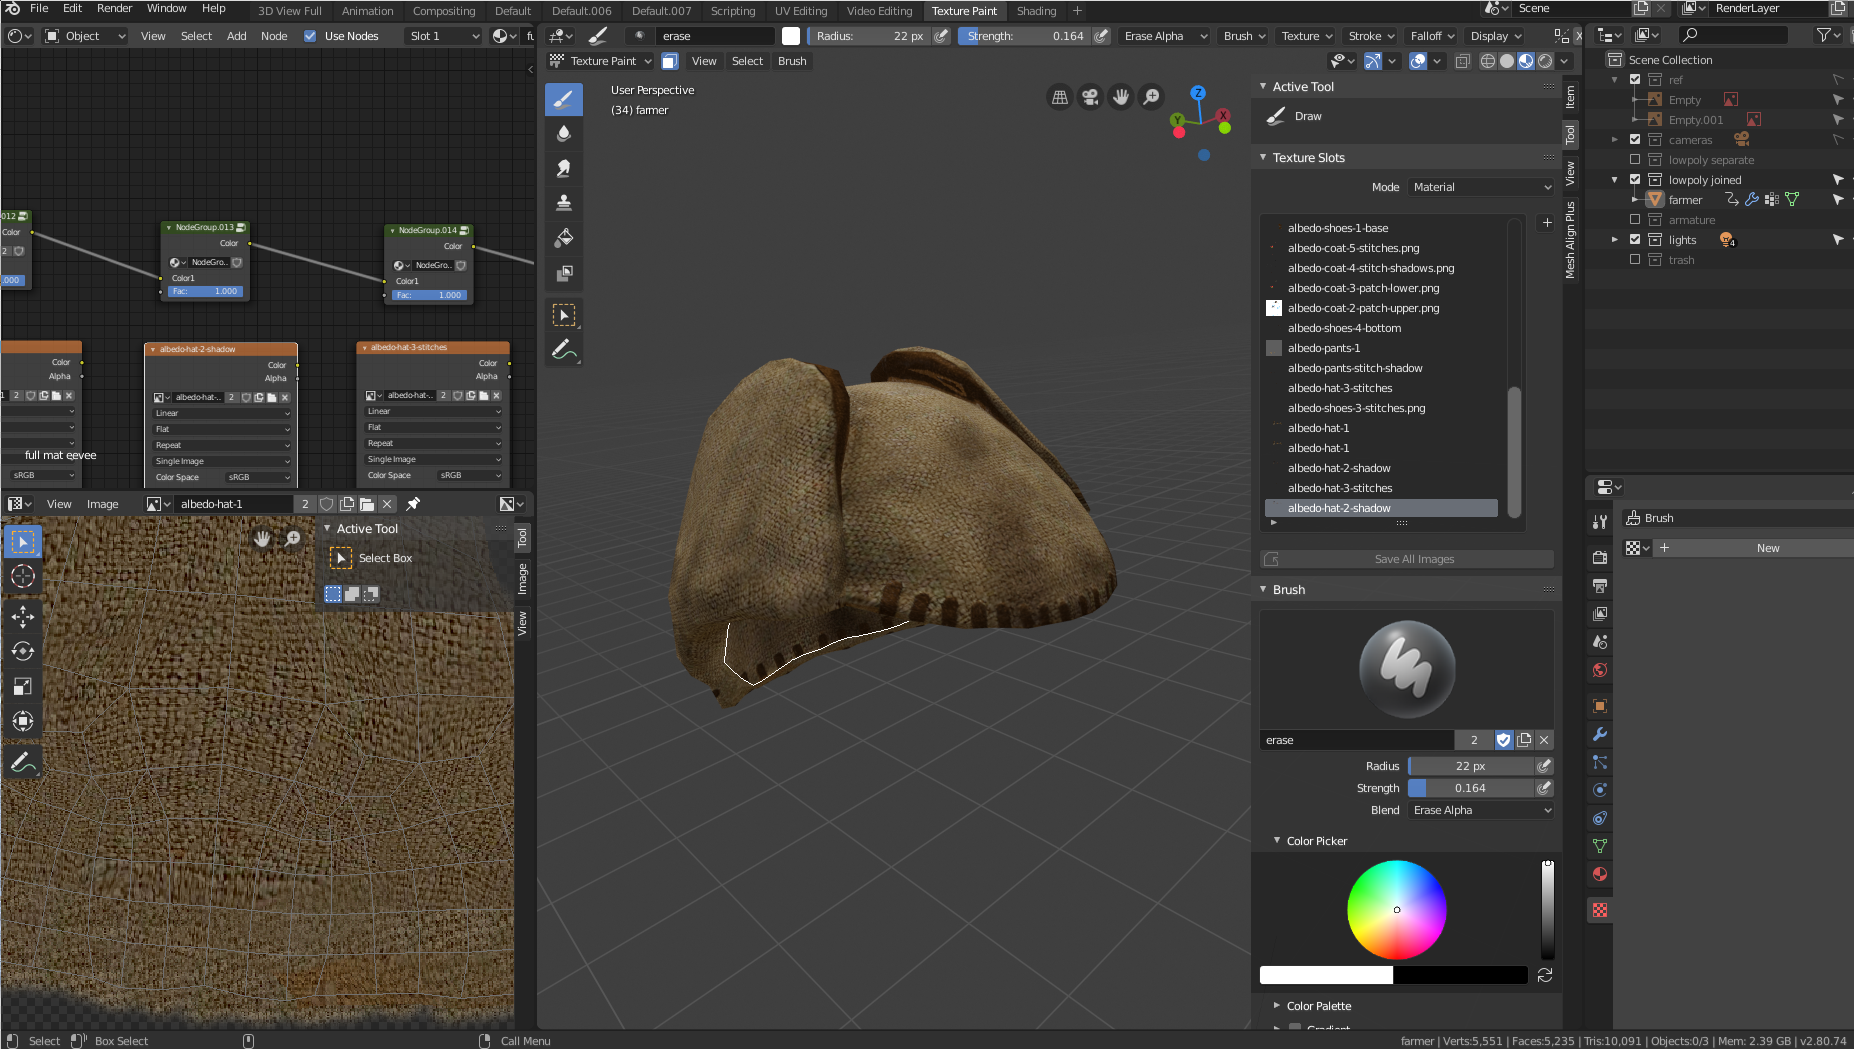
A lot of time was spent on countless minor fixes, which I really don’t want to describe.__ The whole texturing was made in blender, and I also added cloth details to normal map from albedo with gimp addon ‘gimp-normalmap-1.2.3’.
Also, people who are not familiar with 3d stuff were asking me, why one need a normal map (hi, Nixel), and this video is for them. Left model has normal map, while right one is ‘flat’:
Кучу времени я потратил на бесчисленные фиксы, которые мне лень описывать в этом посте. Текстурирование целиком делал в блендере, и дополнительно сконвертировал часть деталей из альбидо через аддон для гимпа ‘gimp-normalmap-1.2.3’.
Мои знакомые, которые не знакомы с 3д, часто спрашивают, а зачем вообещ нужна нормалка (привет, Nixel), и видео ниже я записал как раз на такой случай. Модель слева с нормалкой, справа - без.
When I was testing the model in godot and unity, I faced a stange bug or just some specific behavior. When the charatcer was blinking, it was alright in blender, but in 3d engine there wa a glitch: eyes, for some reason, were a bit further upfront eyelids. I fixed it by simply moving eyes a bit deeper into the head.
Во время тестов в годо и юнити, я столкнулся с багом, а возможно просто с каким-то странным поведением. Когда персонаж моргал, в блендере было всё ок, но в игровых движках меш глаз при моргании вылезал изпод век. Пофиксил просто засовыванием меша глаз глубже в голову.
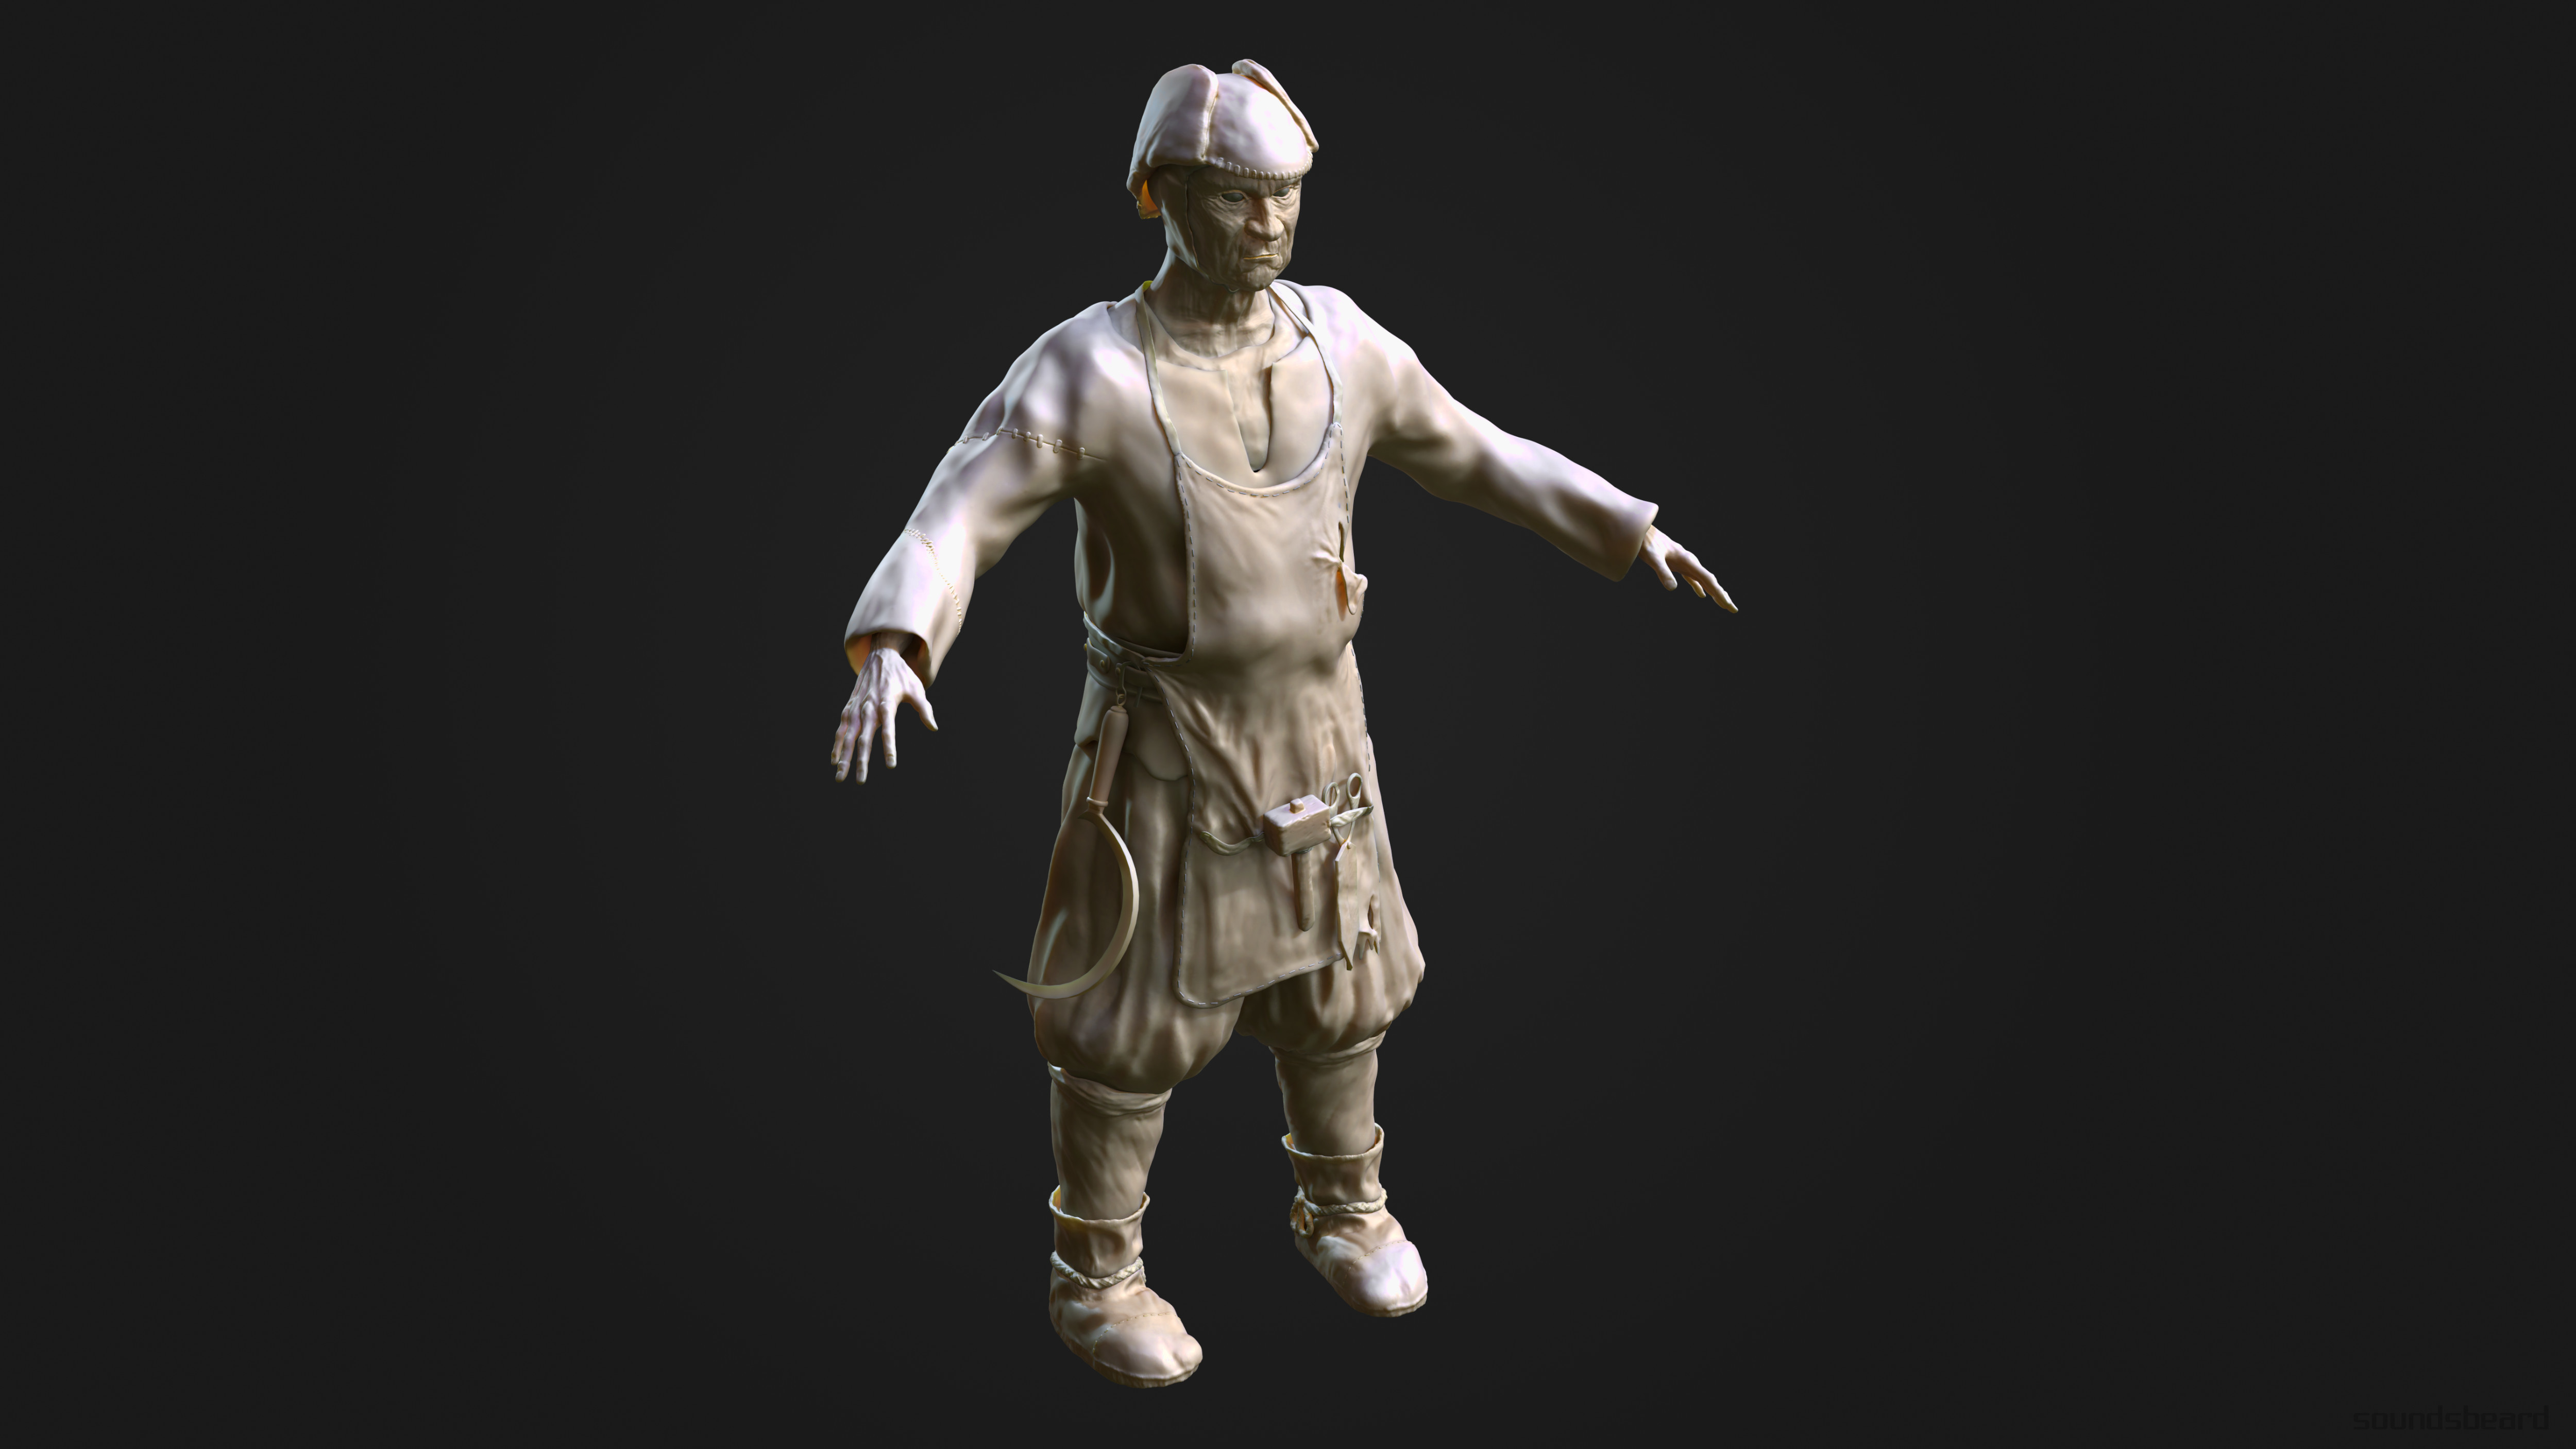
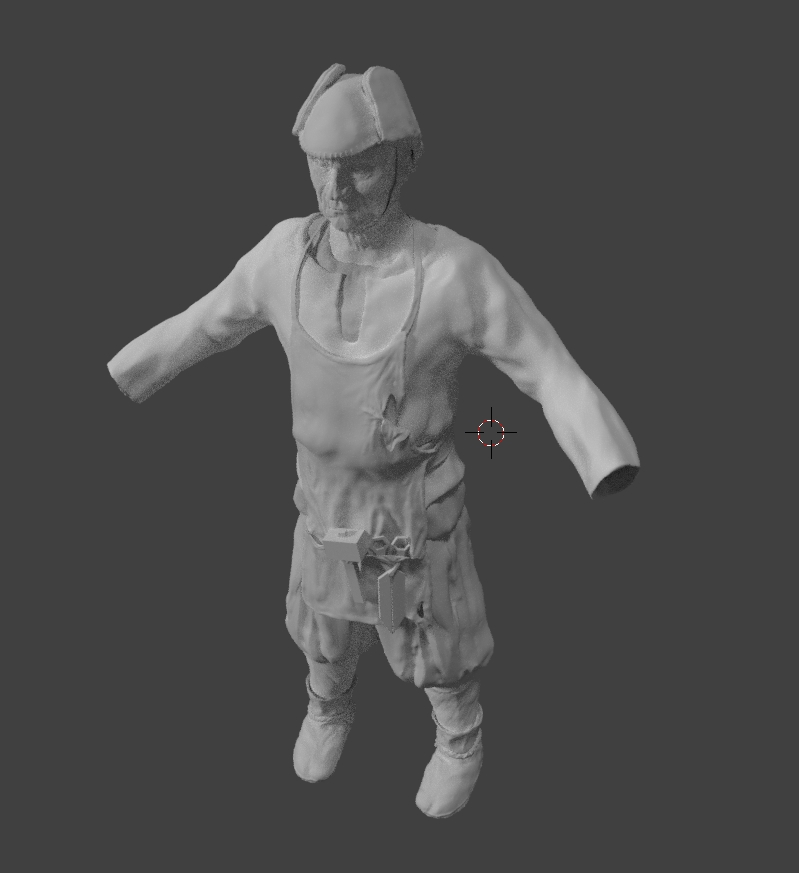
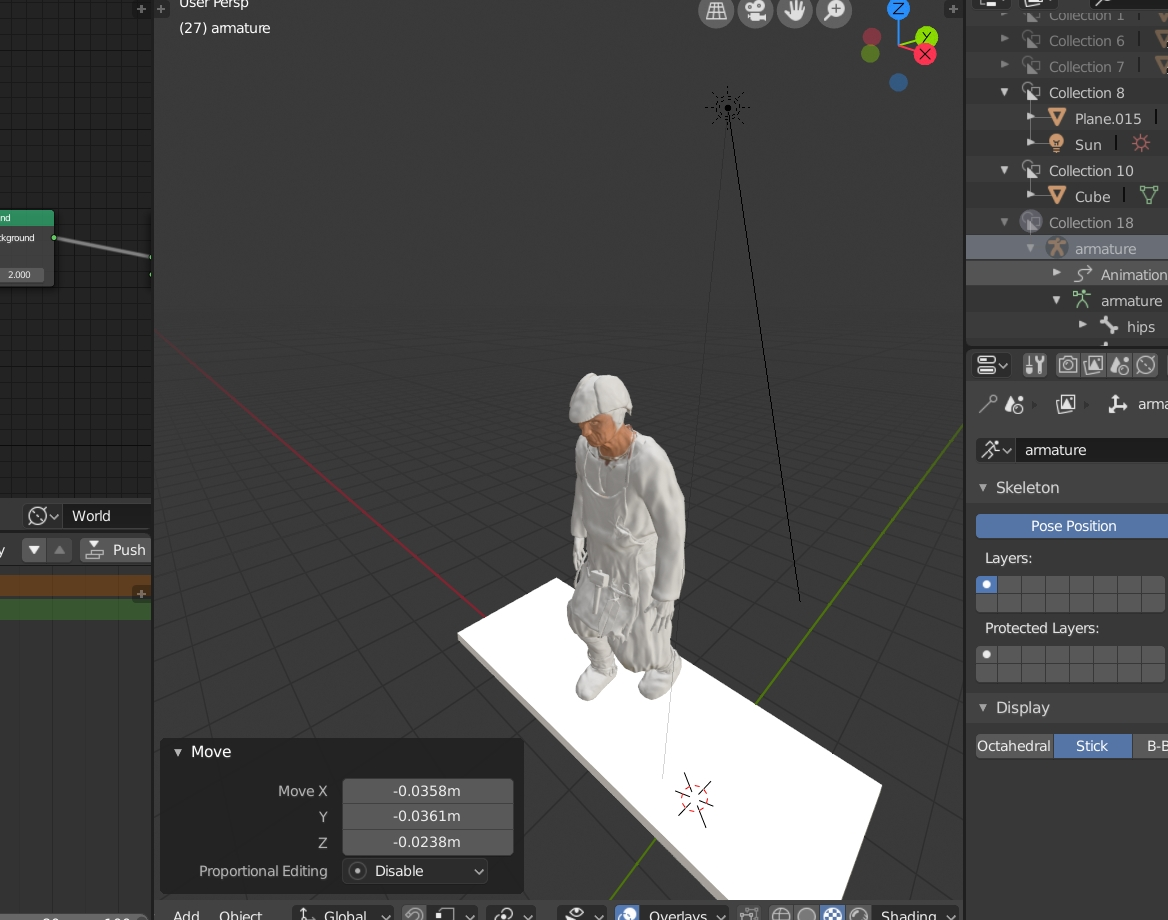
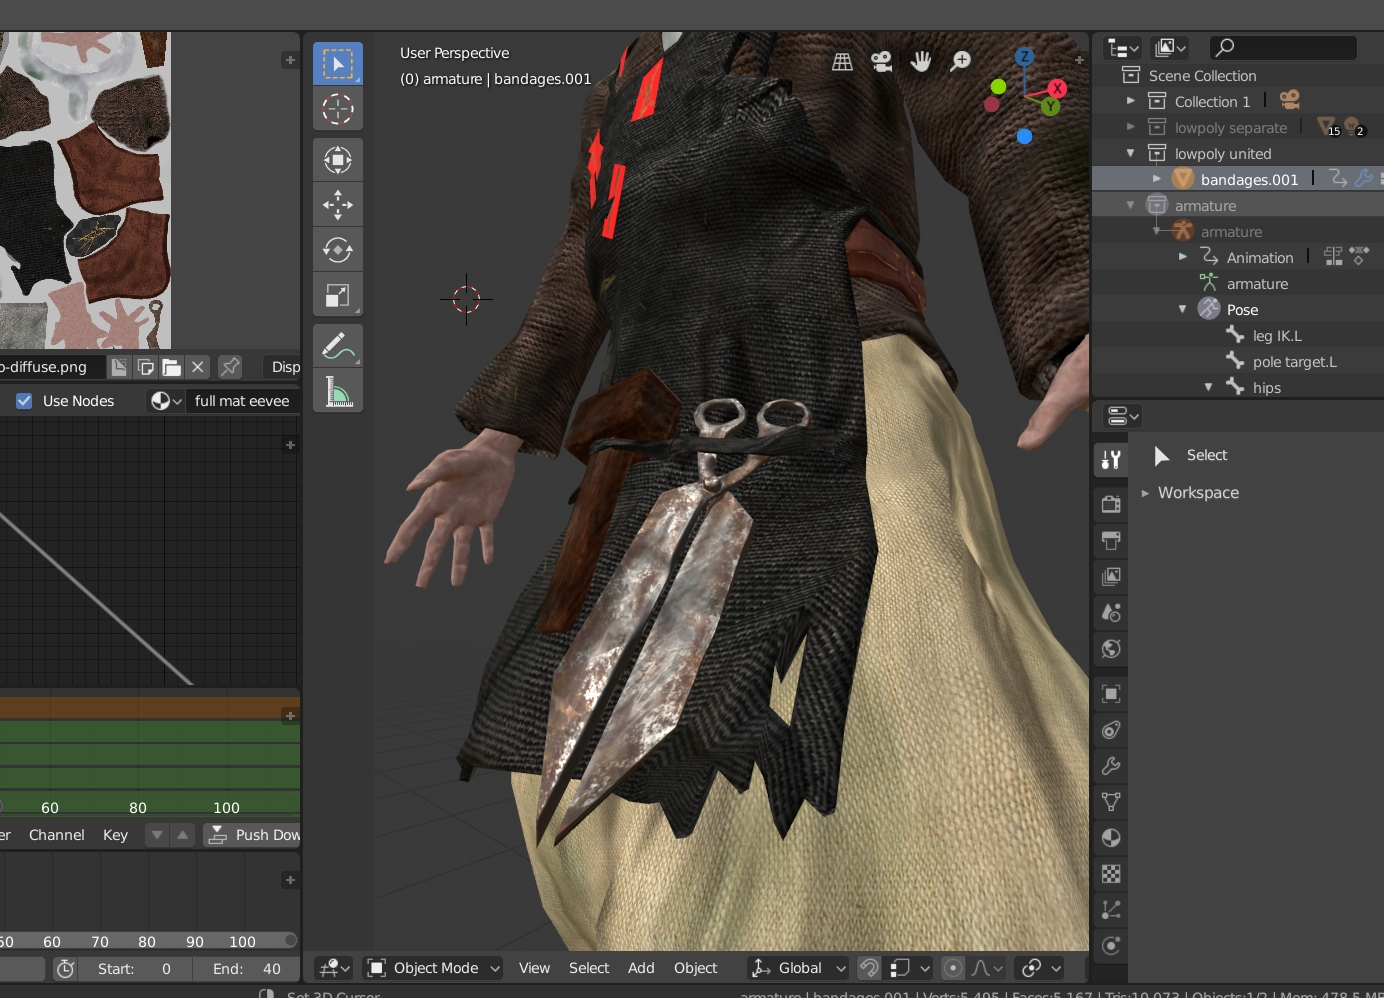
Thank you, if you have read all this nonsense! And some more random screenshots.
Спасибо, что дочитали всё это до конца! Под конец ещё пара скринов.
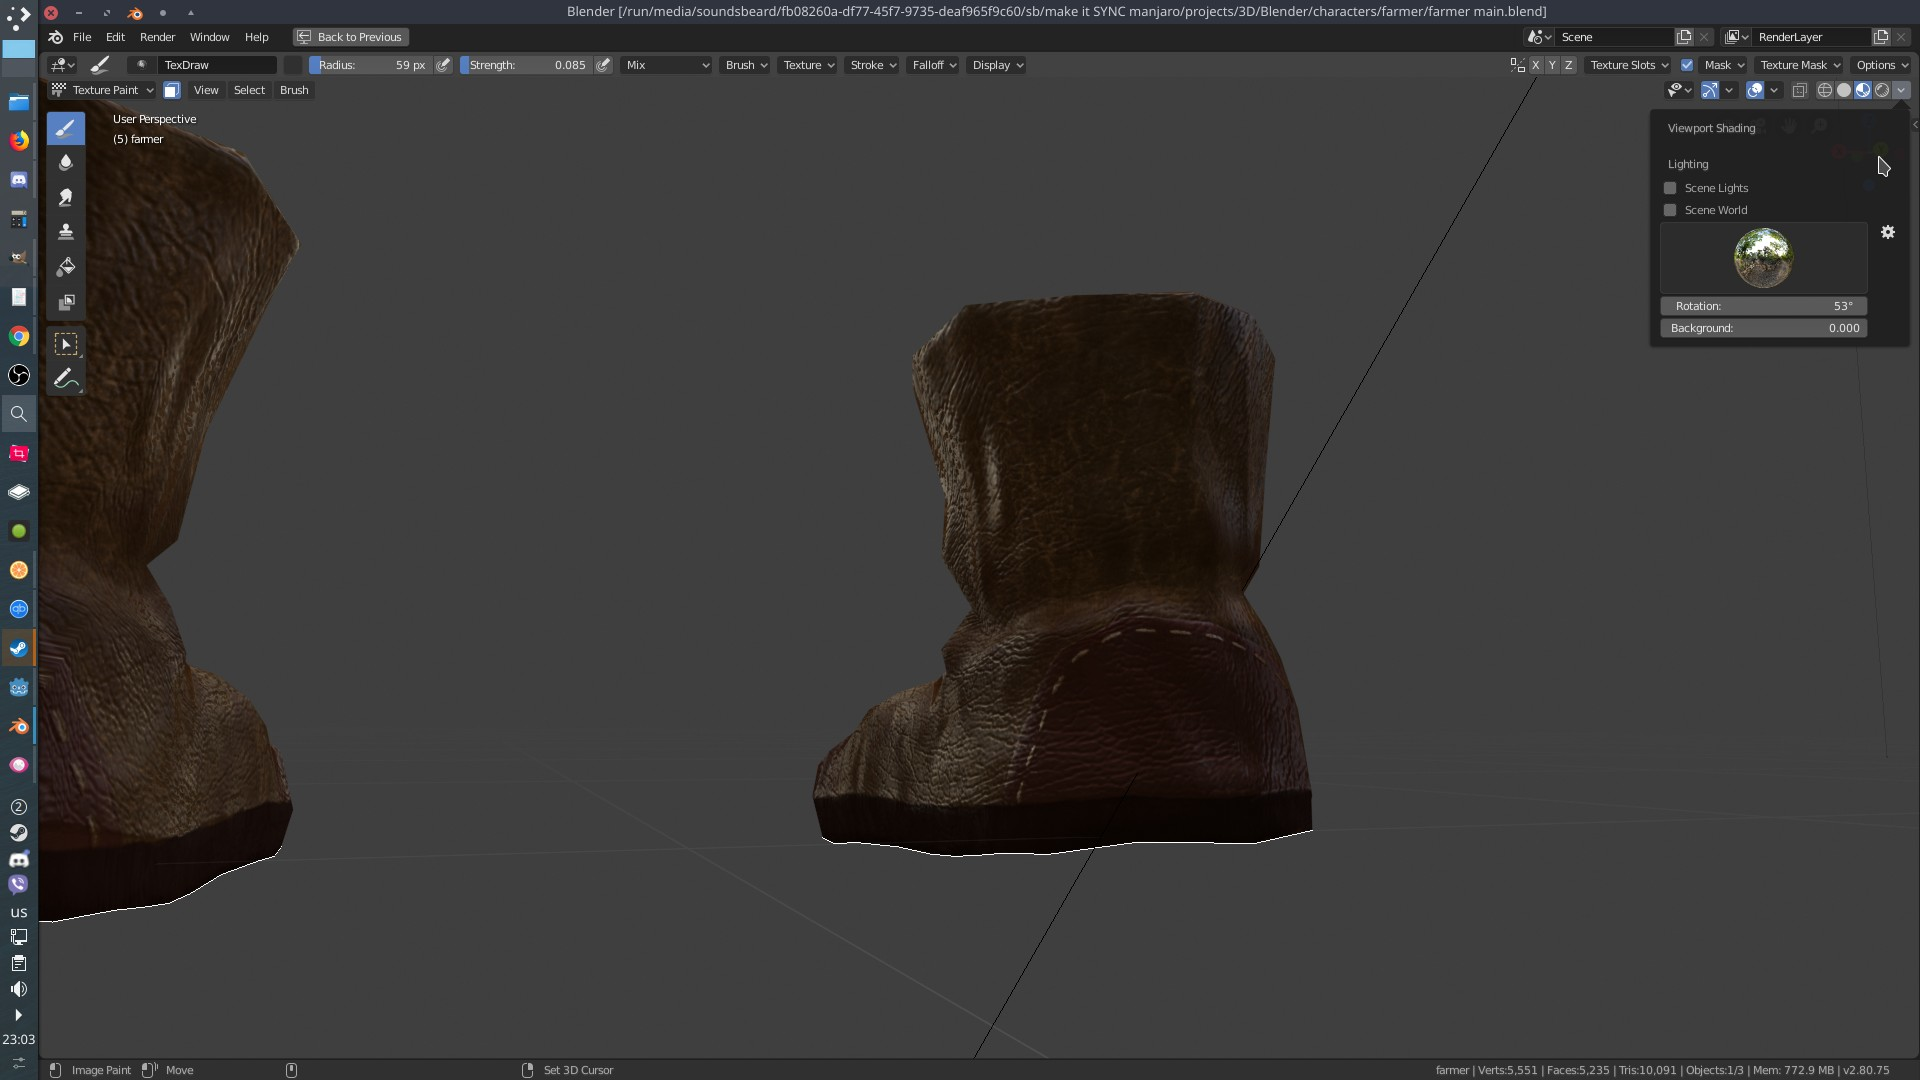
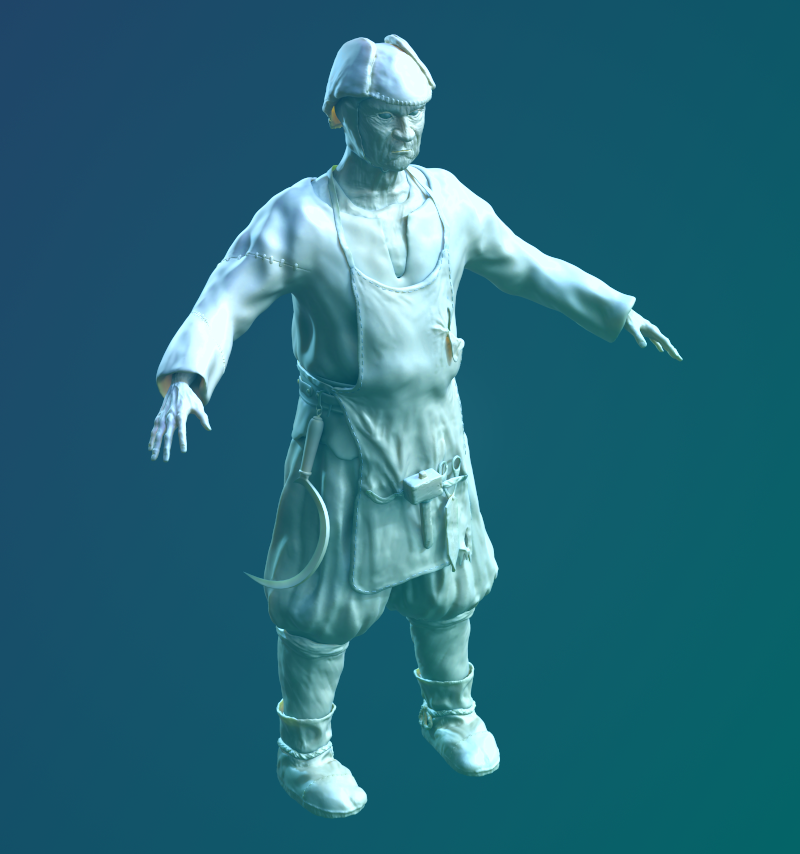
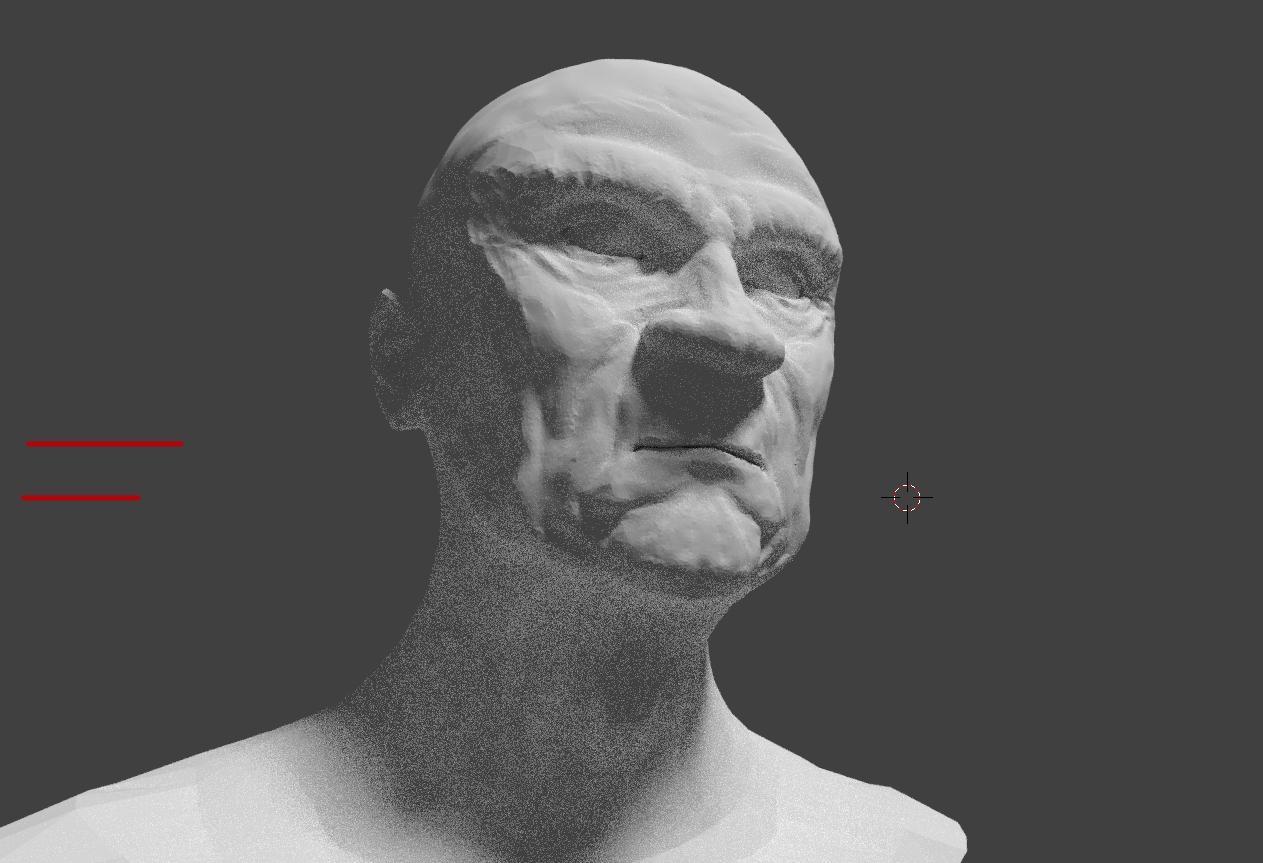
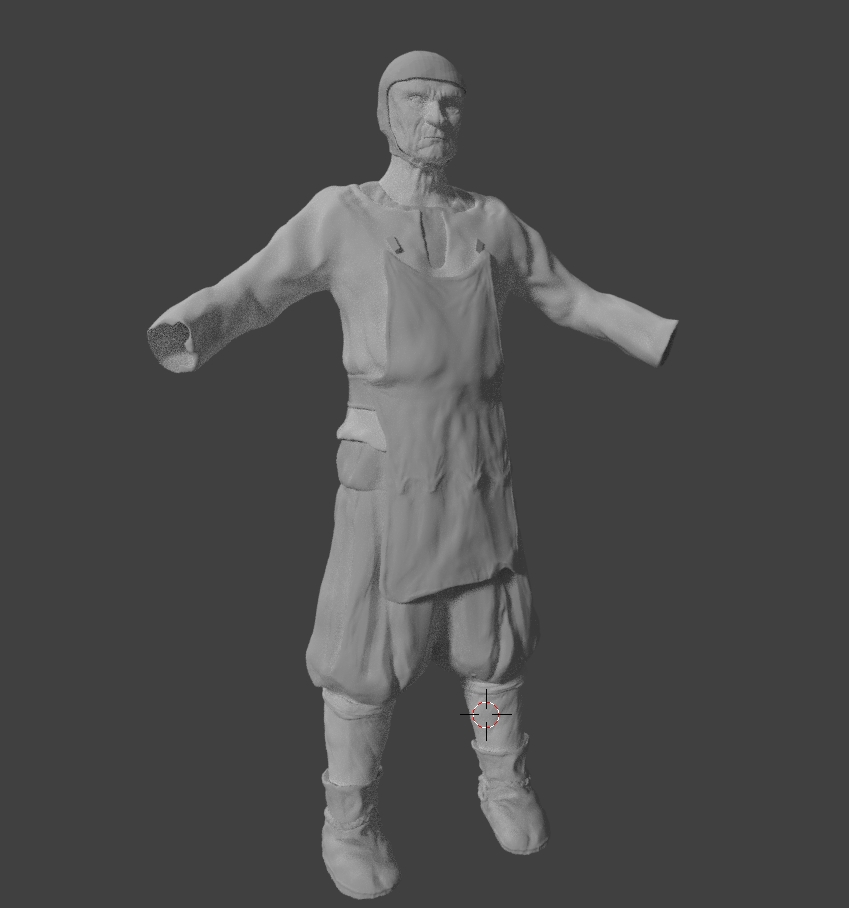
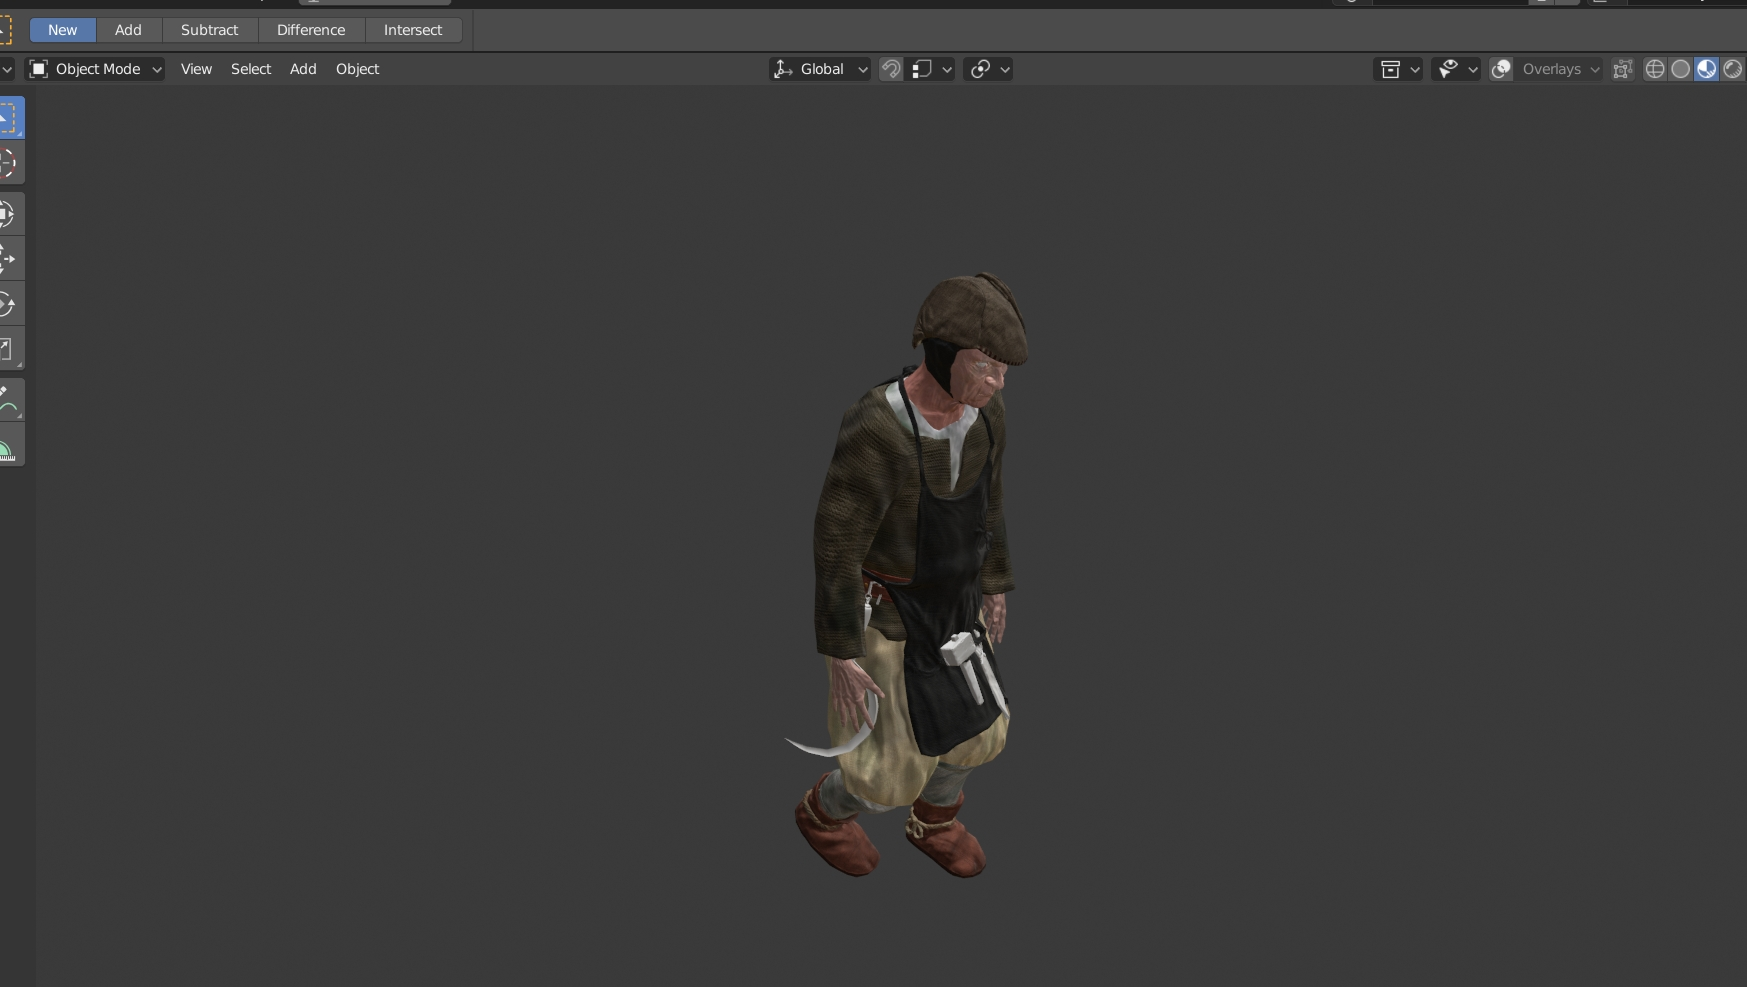
p.s. I really like how wrinkles baked out and how they look in combination with pale skin texture.
п.с. мне понравилось как запеклись все морщины, особенно как они смотрятся с бледной кожей.